
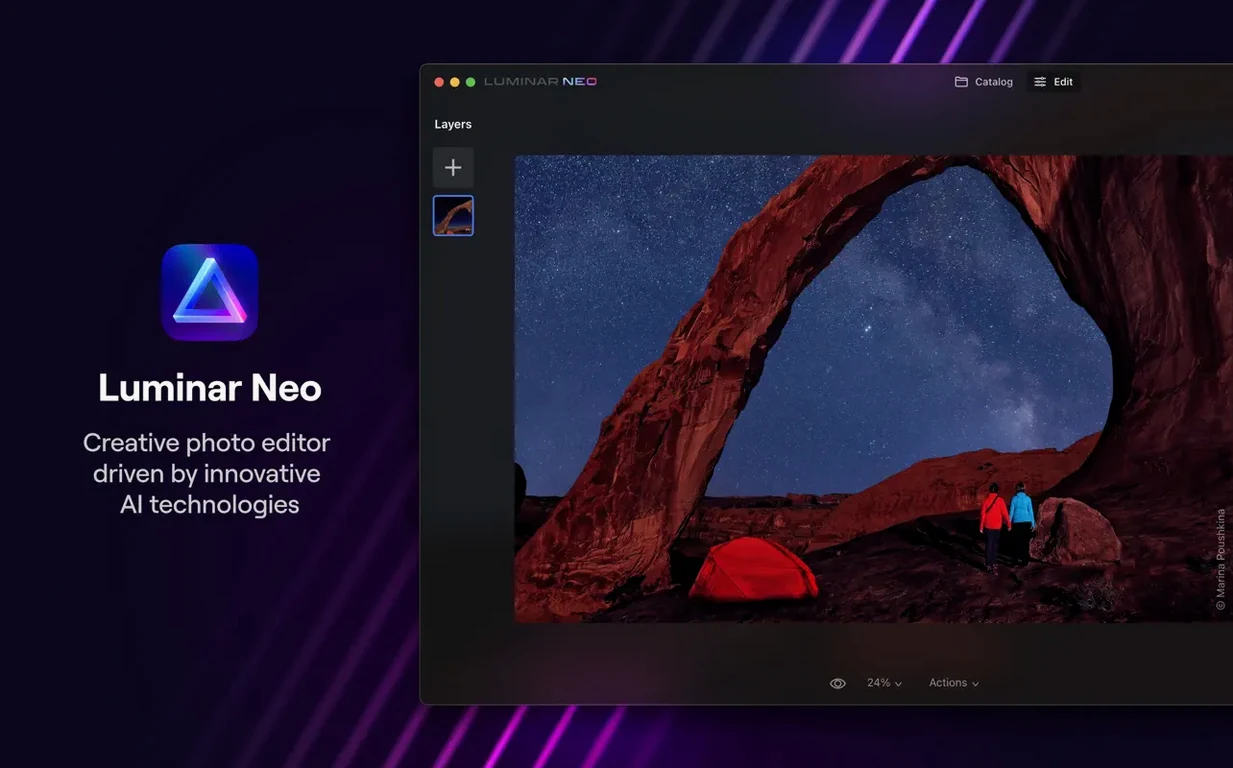
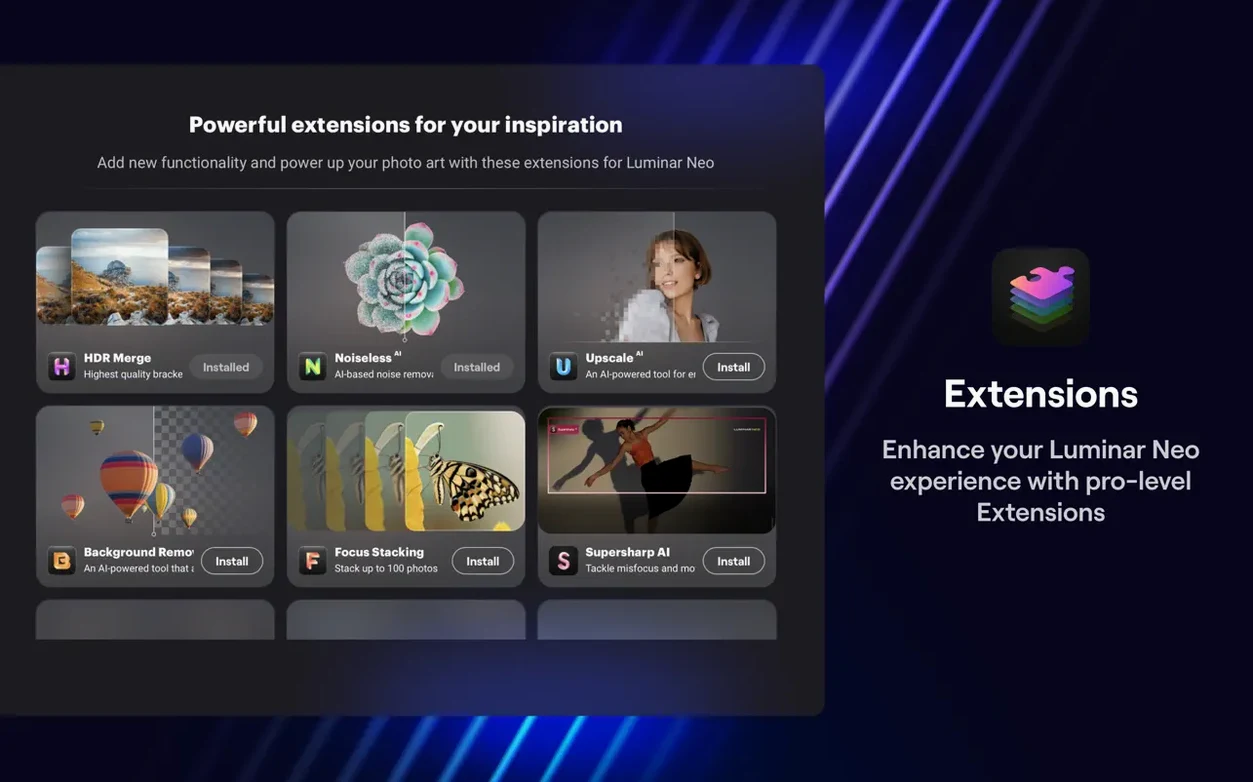
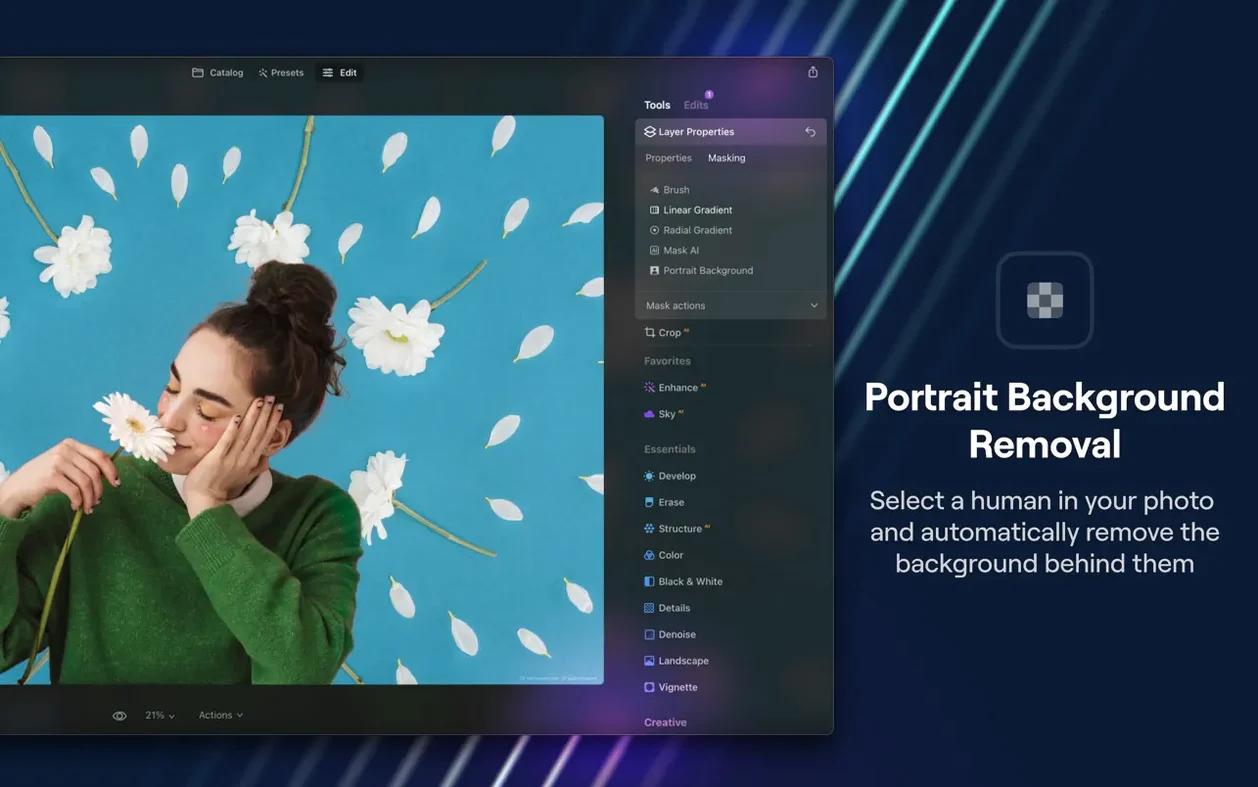
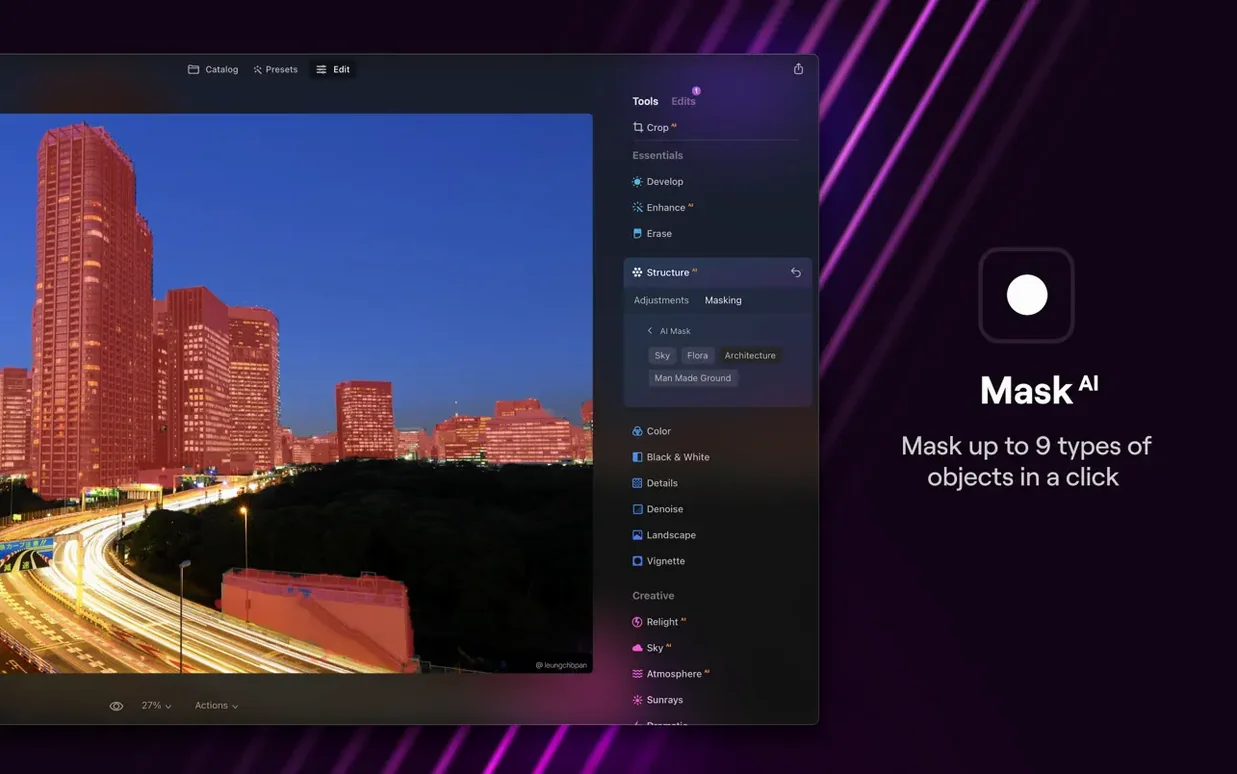
Version 1.26.0 moves the AI Assistant into the Presets and Edit tabs. The assistant now sits closer to where you work.
Smart start
It reads the image and suggests a starting point. Less time guessing which slider to touch first.
Which features handle difficult shots?
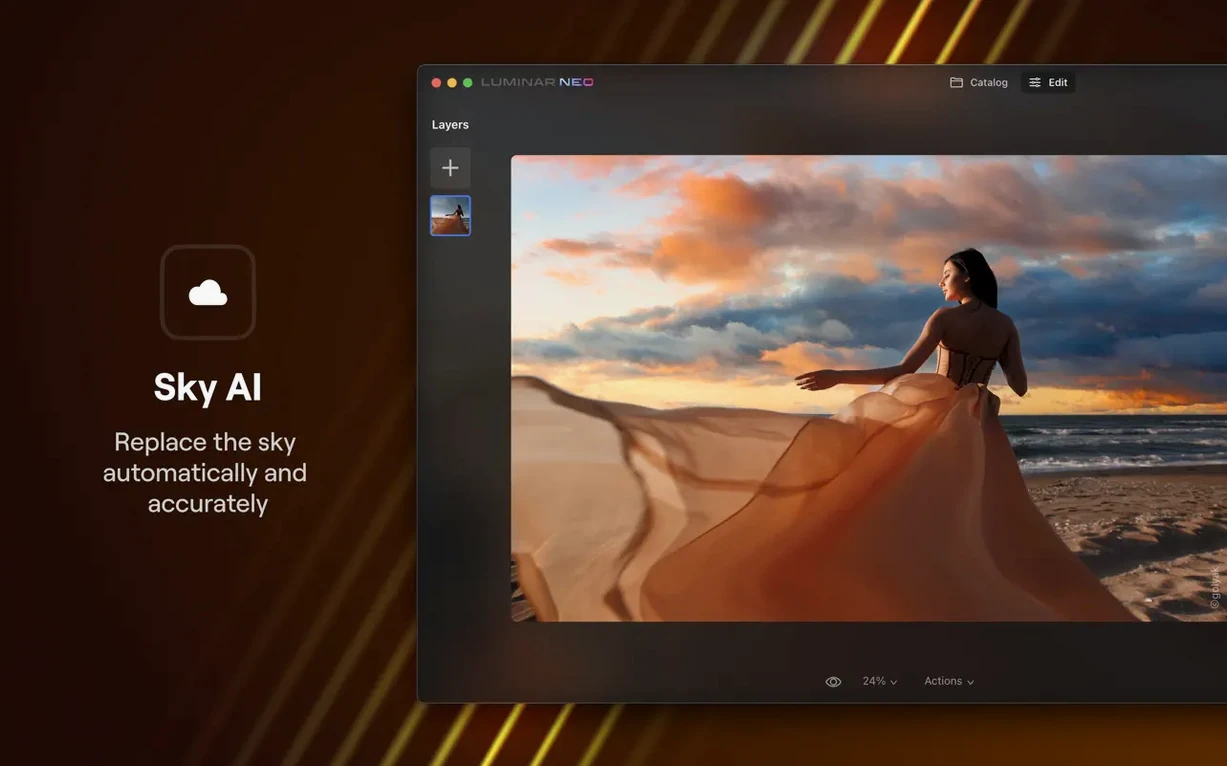
Relighting lets you shift light after the fact. Background replacement and dust removal clean up what the camera caught.
Is it a full editor?
Yes. It covers professional tasks without pushing you into a fixed workflow. More customizable than LuminarAI was.
Re-edit old
Pick five images you already edited elsewhere. Re-edit them here. The comparison teaches more than tutorials.
Open the Presets tab before touching any slider. The AI Assistant now lives there. Let it read the image. Accept or reject its suggestion—either choice is useful. You learn what the engine sees.
Turn off the catalog feature if you already have a folder system you like. The app works fine with single files opened directly.
Real layers
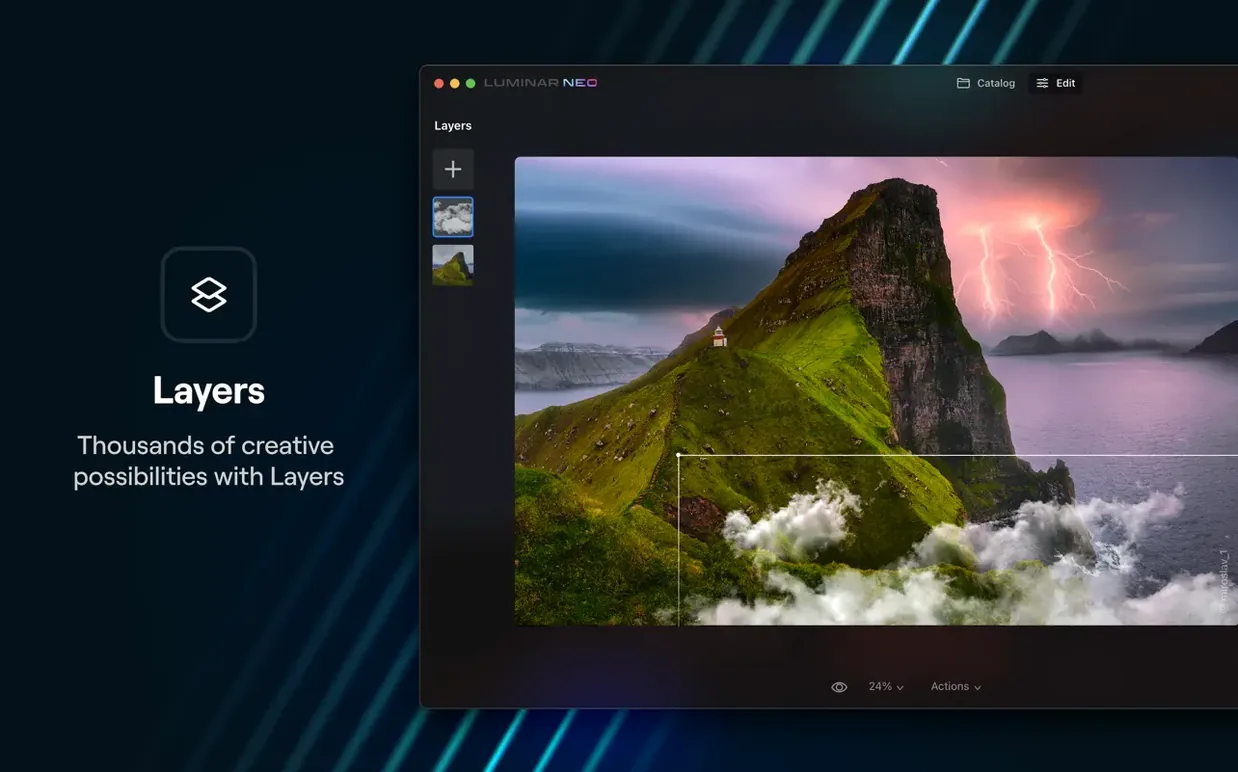
Most people want to know if the layer support is real. It is. You can stack exposures, blend textures, and mask adjustments per layer. It is not a pixel-level compositor like Photoshop, but it handles the work a photographer needs.
Another common question is whether the app slows down on older Macs. The memory recommendation is 16 GB for a reason. On 8 GB machines, keep other heavy apps closed. The AI tools run best when the system is not swapping.
Some ask if it replaces Lightroom. Not exactly. This is a creative editor, not a catalog. Use it alongside a DAM if you shoot thousands a week.
Blank window
If the app opens to a blank window, check that you dragged it to the Applications folder. Running it from the disk image causes odd behavior.
When the AI Assistant returns a flat result, the image likely lacks a clear subject. Feed it a photo with one main element and decent contrast. It needs something to read.
Sliders sometimes lag. Reduce the preview size under View. The engine recalculates everything, and a smaller preview lightens the load.
Dust removal can miss fine particles against busy backgrounds. Zoom to 100 percent and run it again on a cropped area. The second pass usually catches them.
Relight a portrait in two minutes
Open a portrait where the face is too dark but the background is exposed well. Add a new adjustment layer. Set the blend mode to Luminosity. This keeps color intact while you move light.
Apply Relight to the adjustment layer. Push the foreground slider up until the face reads naturally. If the background shifts too much, mask it out with a soft brush. The mask tools live at the bottom of the layer panel.
Go back to the main layer. Use the Erase tool for any stray hairs that caught the original shadow too harshly. Three passes maximum—overworking it breaks the natural falloff.
Merge layers and apply a light Preset as a finishing move. Export as a 16-bit TIFF if you plan to print.
Support for macOS 12 Monterey ends with the next release.