

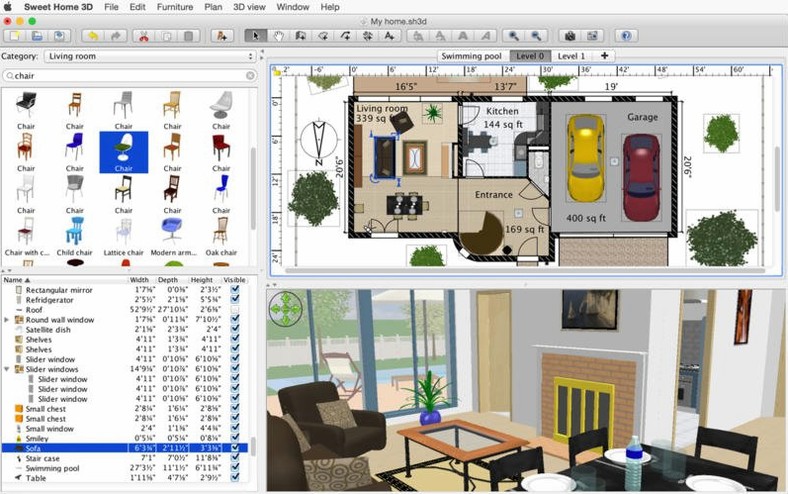
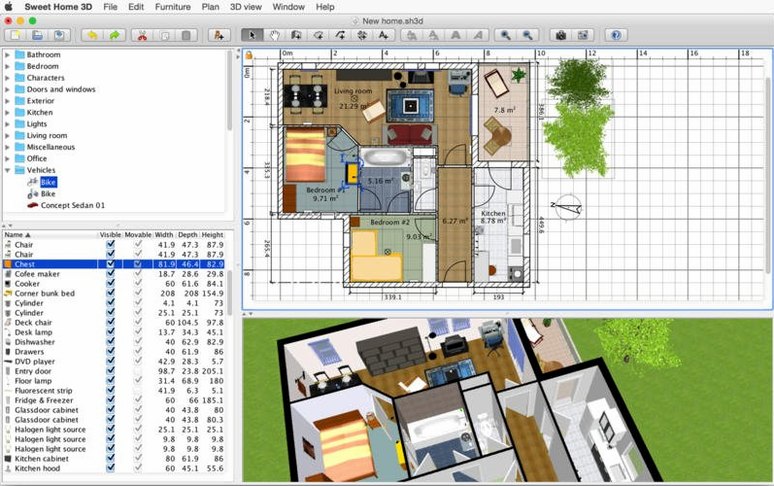
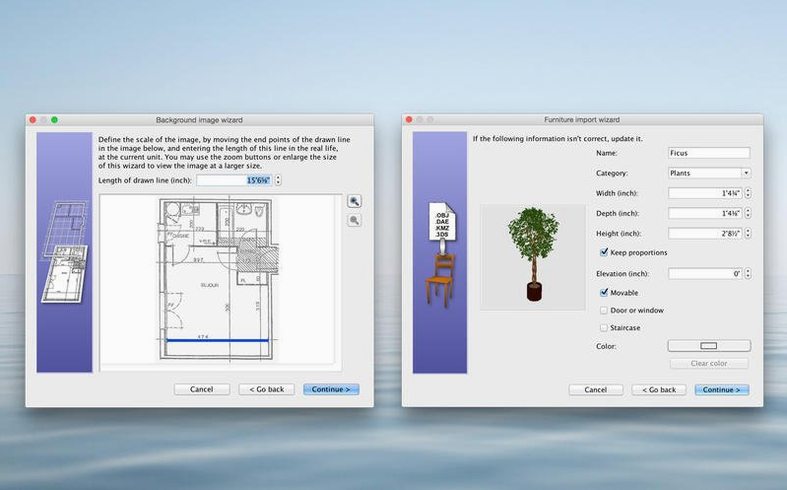
Draw a home plan. Walk through it in 3D.
- Draw walls and rooms, on one level or several.
- Add furniture and set its size, height, orientation and color.
- Give walls, floors and ceilings a texture or a color.
- Switch to 3D and move through the space.
Lighter, faster feel
Live Home 3D gives you roof tools, terrain editing and a more polished render engine. It also pulls you into a heavier interface. Sweet Home stays lighter. It starts faster and asks for less.
SketchUp Free runs in a browser and bends toward general 3D modeling. Interior layout takes more steps. Sweet Home keeps walls, doors, and furniture at the center, where a floor plan belongs.
Room Arranger feels closer in spirit — drag, drop, measure. But its 3D walkthrough is rudimentary. Sweet Home gives you a full visitor view, with sunlight and photorealistic snapshots built in.
A kitchen plan
You have a 3.8‑by‑4.2‑meter space and a window on the north wall. Open Sweet Home. Double‑click New from scratch and keep the default one‑level template.
Draw four walls with the wall tool. Type exact lengths into the floating palette: 380, then 420, then 380, then 420. The room closes itself. Insert a window from the catalog — 120 cm wide — centered on the north wall. Drag a door into the east wall. The 3D pane updates as you work.
Now furniture. Search the catalog for “kitchen cabinet.” Pull a base unit against the west wall. Duplicate it twice. Rotate an L‑shaped run into the south‑west corner. Adjust heights to 90 cm and widths to 60 cm. Color them matte white from the texture picker. Add a sink, a hob, a fridge. Resize the fridge to a slim 55 cm model.
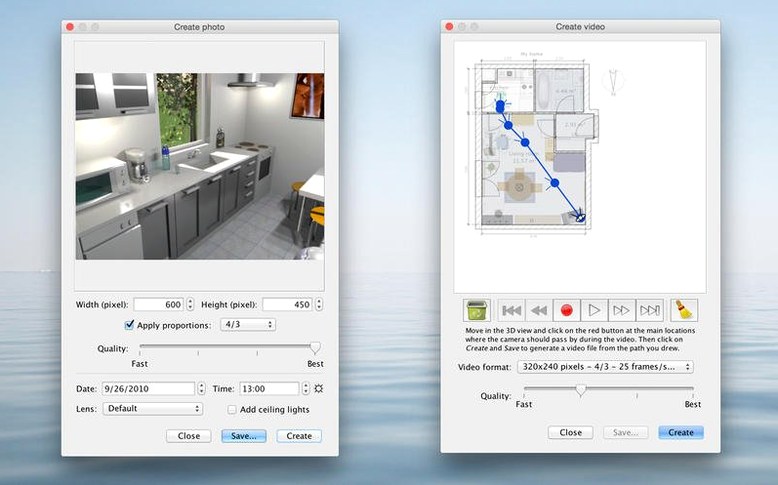
Switch the 3D view to Visitor. Walk toward the window. The morning light falls across the counter. Export a 4000‑pixel PNG. Done.
A working hour
You open the app at nine. The plan from last night is still on screen — a two‑level cottage. You click the upper floor tab. A bedroom needs rearranging.
You start by deleting a wardrobe. Select it, press Delete. The floor feels empty. You browse the furniture catalog: Beds, then Double beds. A 160×200 cm frame slides into the center of the room. You spin it 90 degrees and nudge it against the wall. Two bedside tables follow, then a rug from the Miscellaneous section. You tint the rug terracotta.
The ceiling feels low. You raise it to 260 cm in the room modification pane. The 3D view brightens. You switch sunlight to late afternoon and move the compass west. Shadows stretch across the bed. You render a photo — 3000 pixels, best quality — and it saves to the desktop in under ten seconds.
Before closing, you print a plan sheet for the ground floor. One A4 page, scale 1:50. That is the morning’s work.
Plans and views export to PDF, PNG, JPEG, SVG or OBJ, or print directly. Twenty interface languages. OS X 10.9 or later is enough.