
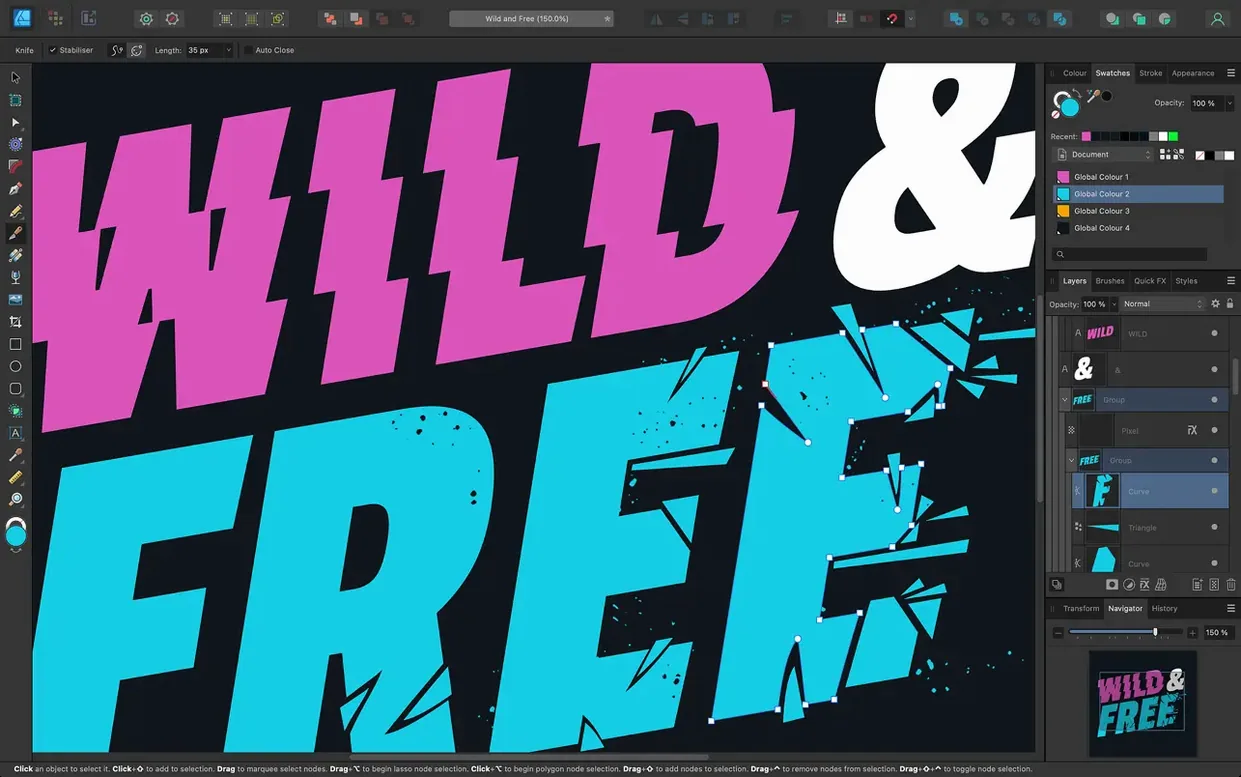
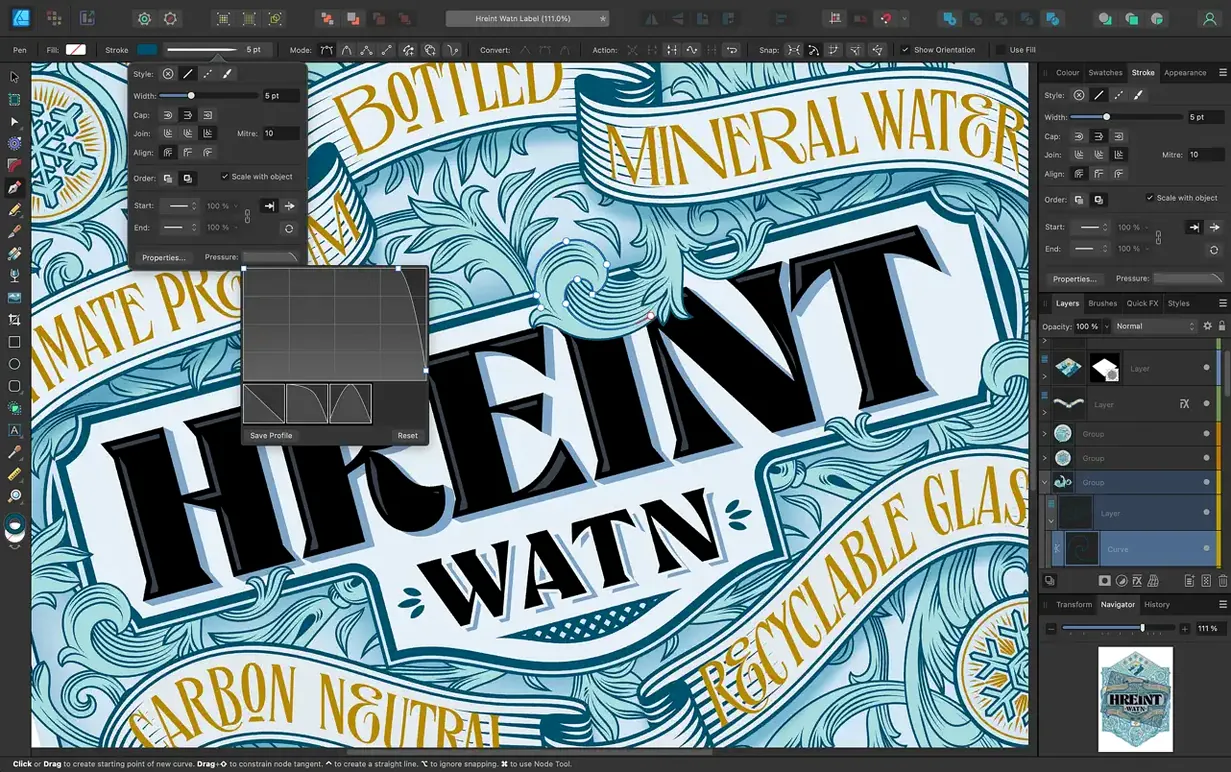
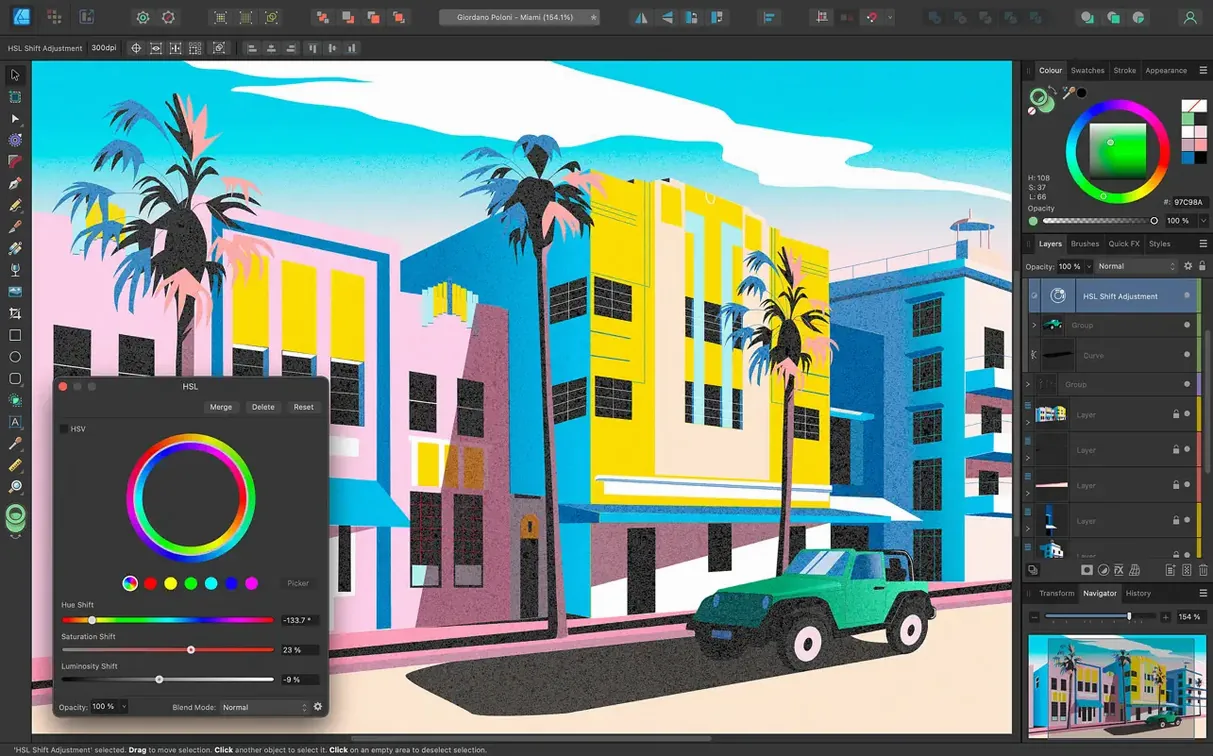
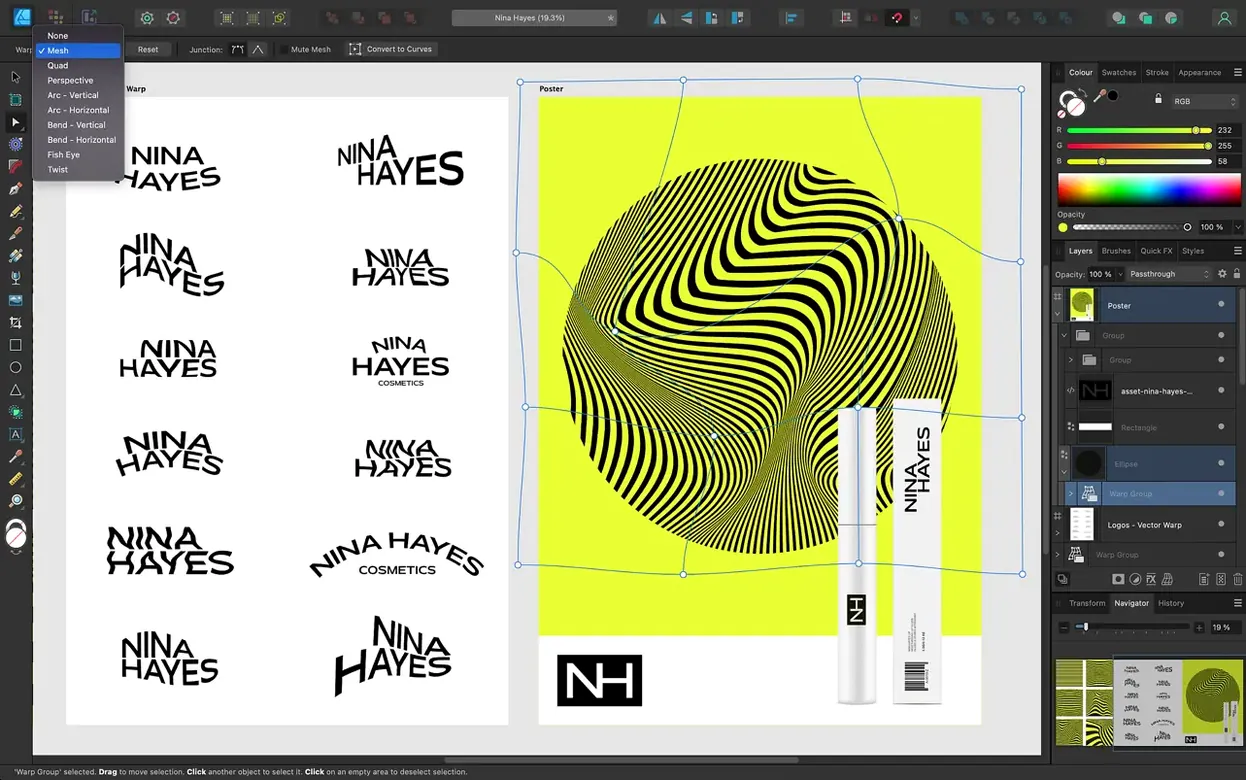
For anyone who learned vector drawing in Adobe Illustrator, Affinity Designer feels immediately familiar without being a clone. It keeps the precision.
- Full Pen, Node, and curve editing tools built for accuracy
- CMYK, LAB, RGB, and grayscale color with ICC profile support
- Unlimited artboards in a single document
- Metal-accelerated rendering on both Intel and Apple Silicon Macs
The toolset covers the work: shape building, stroke width profiling, and marquee selection refinements that came with version 2.6. It is a quiet, capable app that stays out of your way.
Bilinear curves
Open Preferences with ⌘, and change two things before you draw a single line.
Under Performance, set View Quality to Bilinear (Best Quality). The default is Nearest Neighbor, which leaves curves looking jagged at odd zoom levels. Bilinear fixes that with no measurable performance hit on any Mac made in the last six years.
Then go to User Interface and drag the UI Gamma slider one notch lighter than the default. On most Mac displays the default gamma crushes dark panel text against the dark interface chrome. One click up and the panel labels breathe.
Compared to similar apps
Against Adobe Illustrator, Affinity Designer strips back the cruft. Illustrator carries decades of buried features; Designer carries what most people actually use. Illustrator still wins on complex third‑party plug‑in ecosystems and live trace, but for clean vector construction, Designer’s single‑window, persona‑based workspace feels lighter and faster.
Compared to Sketch, Designer is a broader tool. Sketch focuses on UI design almost exclusively. Designer handles that work plus illustration, print layout, and multi‑artboard branding projects. Sketch’s symbol overrides are more mature, but Designer’s vector engine is stronger for freeform drawing.
Next to Inkscape, Affinity Designer is a completely different experience. Inkscape is capable and free, but its macOS build feels like a port. Designer uses Metal acceleration, respects Mac interface conventions, and renders gradients and blends at 60 fps without stuttering. If you open the same complex SVG in both apps, the difference in pan and zoom smoothness is immediate.
Sharpen 1× exports
The most frequent headache is blurry exports at 1×. If you designed on a Retina artboard and export at 72 dpi without scaling, you get soft results. Set the export preset to 2× or manually double the pixel dimensions in the Export dialog.
Another snag: the Move Tool stops selecting objects on click. This usually means you are still in the Node Tool, or you accidentally locked a layer. Check the Layers panel for a padlock icon, or tap V to switch tools.
Color mismatches between the canvas and exported files often trace back to the document’s ICC profile not matching the export profile. Set both under File → Document Setup → Color and the Export dialog’s Color tab. Mismatched profiles produce dull or oversaturated output that looks nothing like the canvas.