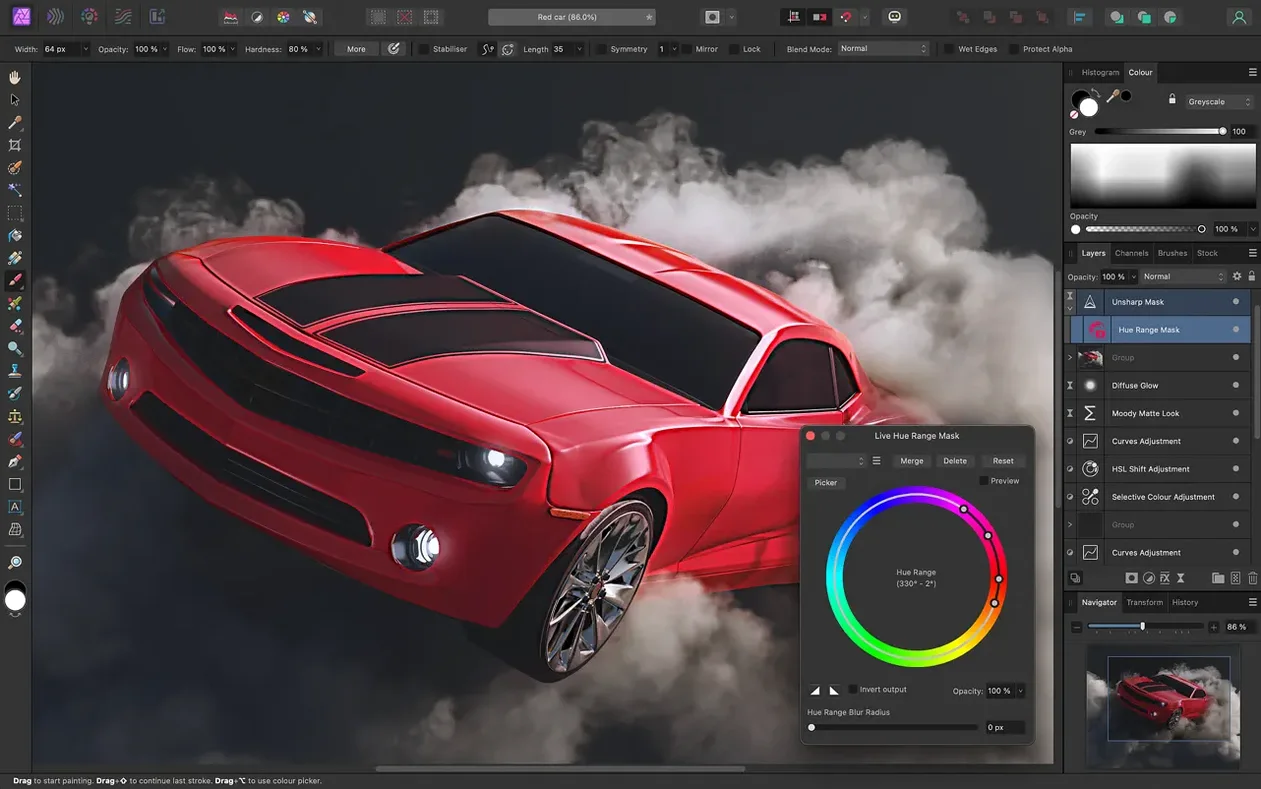
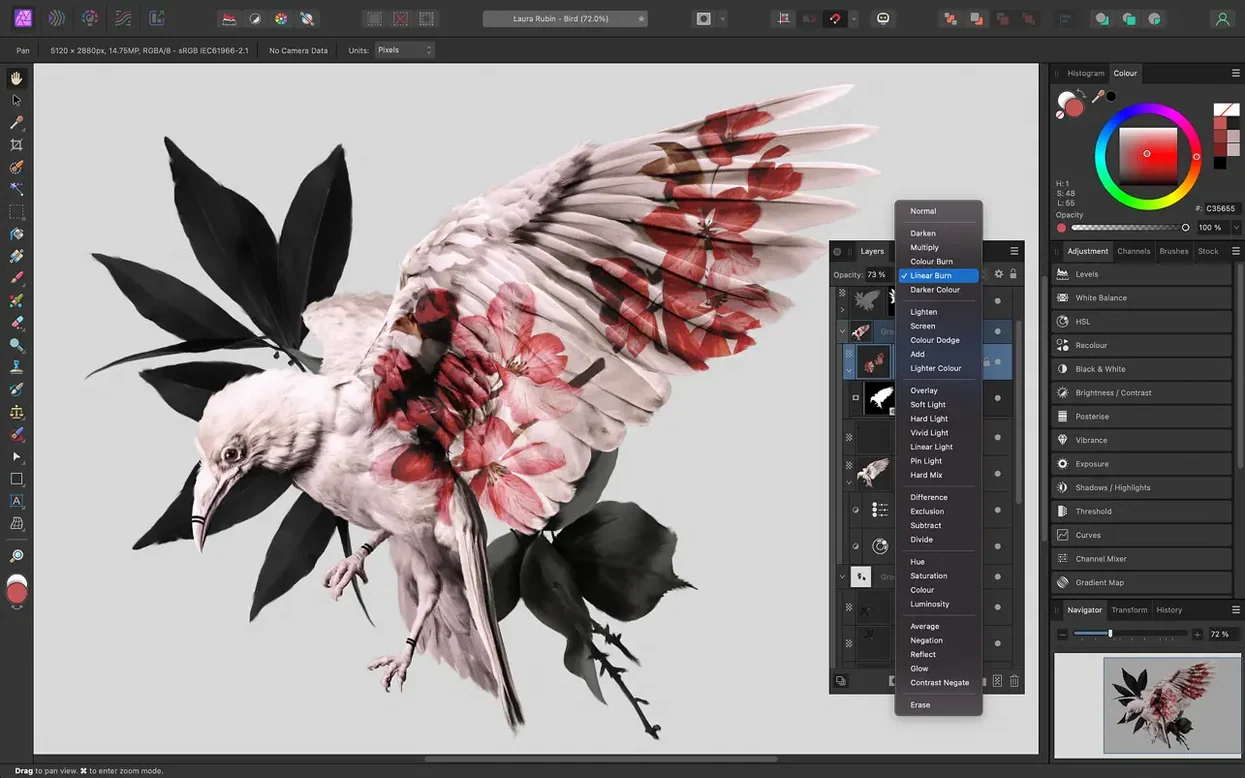
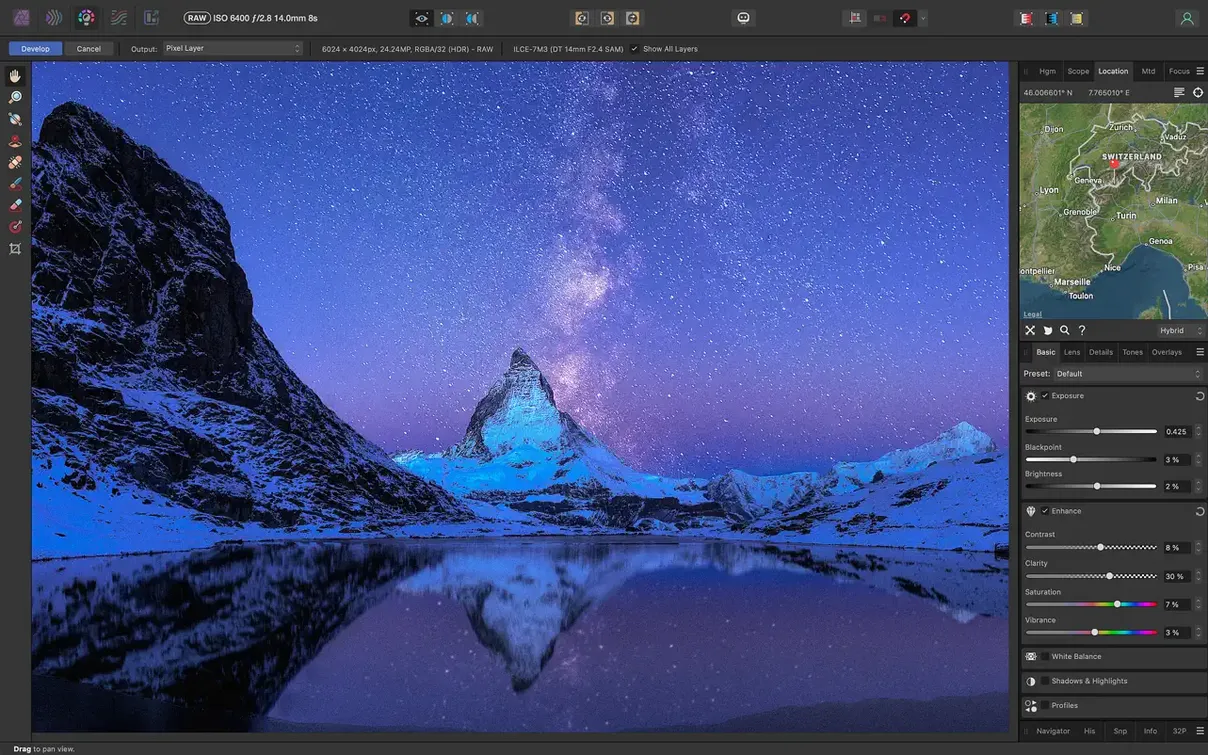
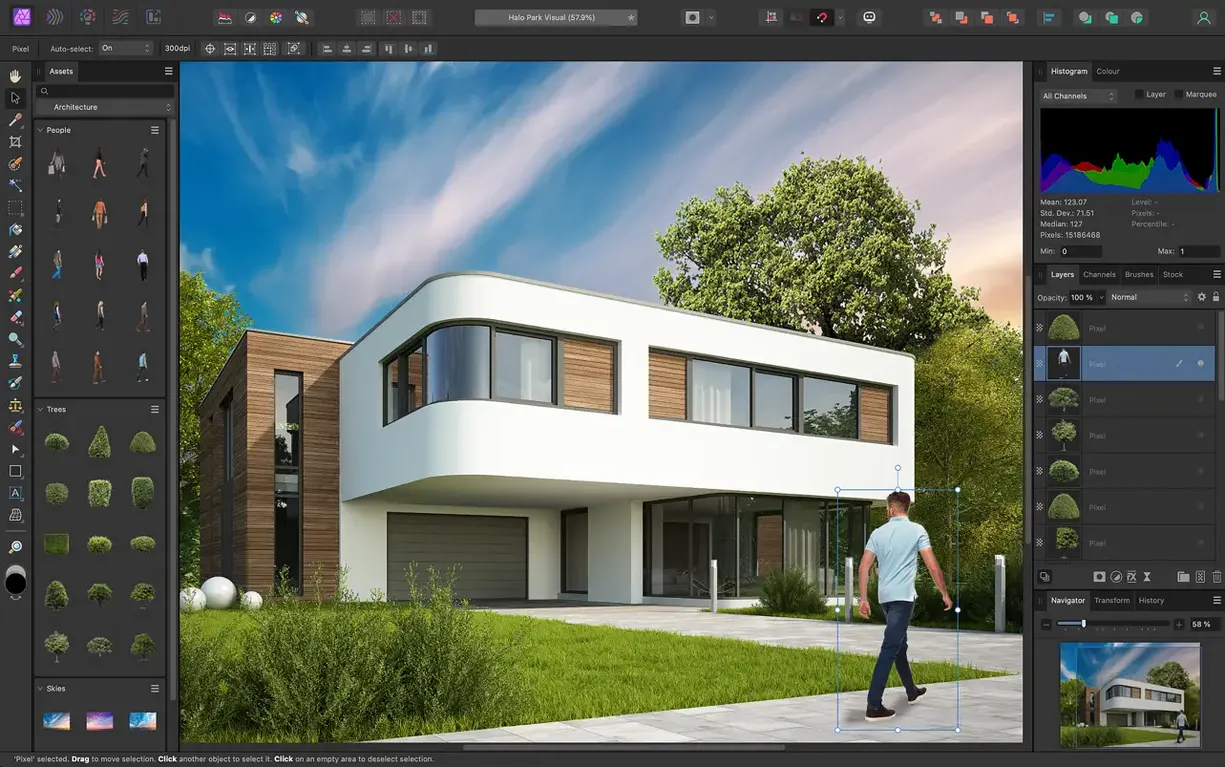
The Inpainting Brush wastes no time. Pick it from the toolbar, paint over a stray power line or a passerby, and the object dissolves. No clone stamp setup. No healing layer. Just gone. It is the first thing to learn because it shows you how little the app wants to get in your way.
Next, open a RAW file and stack a few live filter layers. A tilt-shift blur, a little vibrance, a subtle glow. Drag them to reorder. Double-click to tweak. The image stays intact underneath. This is the core idea: build a look you can unbuild.
When you want to push the file, switch to 32-bit and merge a bracketed set into an HDR image. The tone mapping controls give you a clean starting point, and the Develop persona lets you pull shadows and highlights without crushing anything. It feels closer to developing a print than editing a photo.
RAW finishers
Affinity Photo rewards three kinds of people.
Photographers who shoot RAW and batch-process in Lightroom but want a single-app finishing tool. They load a high-res file, apply a Curves adjustment, mask it with a gradient, and export a print-ready TIFF without launching three utilities. No catalog management to fight.
Retouchers who live inside PSD files. They open client work, run frequency separation on skin, dodge and burn with a Wacom pen, save back to PSD. The layers, groups, and blend modes translate cleanly. They lose no edit history.
Designers who need raster muscle inside a layout workflow. They pull vectors from Affinity Designer, paint masks in Photo, place the result in Publisher. The shared file format removes the export-import dance.
If you already own a RAW processor you love, or you work with 3D renders in EXR format, or you just want one image editor that stays open all day, the fit is good. If you rely on AI-driven batch culling or cloud sync, the app stays out of that lane.
Develop that interior
You mount the disk image and launch the app. A blank canvas sits beside the toolbar.
You drag in an underexposed interior shot. Immediately you switch to the Develop persona. White balance gets a nudge toward warm. Shadows lift without noise. You apply a touch of clarity and open the image.
Now the Layers panel grows. A live Gaussian Blur layer masks the window view for a shallow depth-of-field effect. A Curves adjustment clips the blacks slightly. You group them and label the group Grade.
You spot a light switch on the wall. The Inpainting Brush, set slightly larger than the plate, removes it in one stroke. No sampling, no cleanup. You pause, undo, redo — trust builds fast.
Next, a portrait layer from another shoot. Frequency separation splits texture from tone. On the low-frequency layer, a soft brush smooths a shadow under the eye. On the high-frequency layer, the Clone Brush fixes a stray hair. The result looks untouched, because it nearly was.
You need a web version and a print version. You record a macro that flattens, resizes to 2400 px wide, converts to sRGB, and exports as JPEG. One click later, the web file is on the desktop. The print file stays layered, Adobe RGB, 16-bit, saved as a native document with history attached.
Twenty minutes. No beach ball. You close the lid.
Metal compute
Open Preferences before your first real project. A few changes make the tools feel like yours.
Performance. If you work with large layered files, set RAM usage limit to just under half your system memory. Enable Metal compute. The viewport stays responsive during brush strokes.
Color. Set the default RGB profile to your most common output space. If you send work to a lab, pick Adobe RGB or ProPhoto. If everything ends up on screens, sRGB. The app respects the profile per document, but the default saves a step.
User Interface. Drop the UI gamma slider a notch. The darker panels recede and the image takes the room. Check Monochromatic Iconography if you want the toolbar to feel quieter — it removes color from the icons, leaving shape alone.
Tools. Turn on Show brush previews. The real-time cursor shows size, hardness, and flow before you paint. With a tablet, enable pressure for size and opacity. The brush engine responds more like a real pencil that way.
Those three or four changes take under a minute. They tune the machine to your hand.
Everything else — the hair selection tool, the macro recorder, the CMYK support — waits until you need it.