
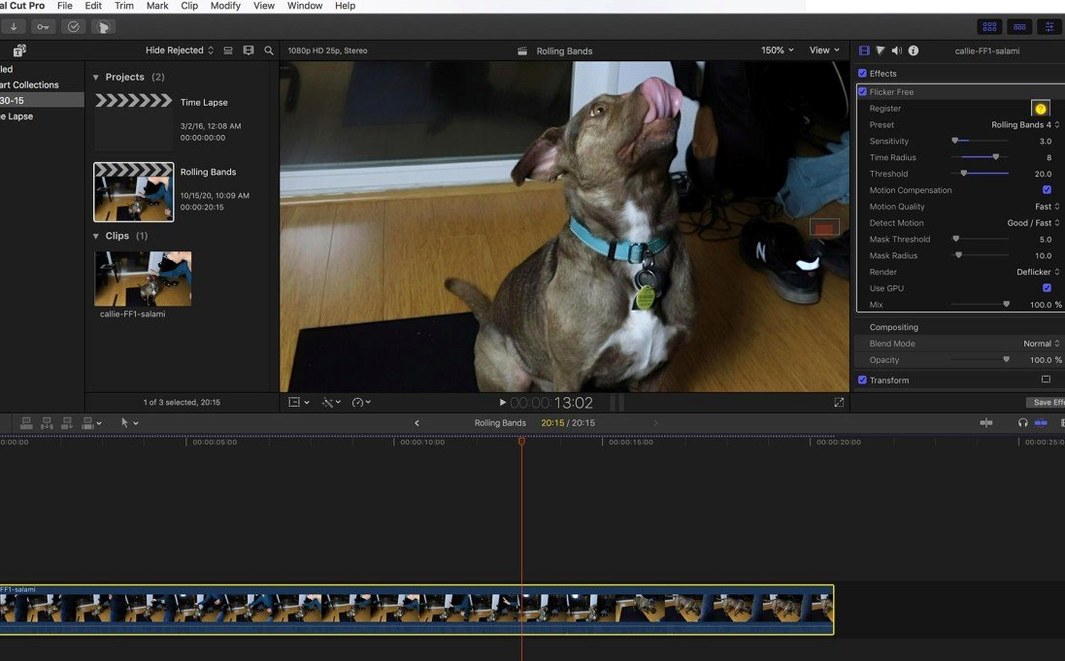
Flicker Free is a plugin that removes flicker from video.
It targets the kind of rolling bands you get from LEDs and fluorescent lights. It also calms the strobing in time-lapse sequences. Cameras like the Phantom Flex or a GoPro under cheap office lighting — it handles both without much fuss.
The controls are direct. You pick the flicker type, adjust the detection sensitivity, and let it run. It pulls the problem band into the plugin and smooths it against the rest of the frame. No keyframes. No duplicating layers.
Starting a session is quiet work. Drop the effect onto a clip, open the controls, and scrub to a frame where the flicker is obvious. Choose the preset closest to what you see — time-lapse, fluorescent, LED, or slow motion. Then lower the render resolution to a short loop around the worst section.
Let it process that small range first. Watch the edge of the bright area. If the band still rolls slightly, raise the sensitivity a touch. If the image looks flattened, pull it back down. The preview pass is where most of the tuning happens. Once the loop looks clean, switch back to full resolution and process the whole clip.
Most of the work is in the first two minutes. The rest is rendering.
Hospital fluorescents
A documentary editor had an interview shot in a hospital corridor. The overhead fluorescents pulsed just enough to ruin every close-up. Grading helped, but the bands still moved through the skin tones.
She applied Flicker Free to the interview track, set the source to fluorescent, and rendered a ten-second test around a moment where the subject leaned forward. The flicker disappeared. One small sensitivity adjustment handled the rest. She processed the full twenty-minute interview overnight and cut with it the next morning.
Preset first
Two values matter early on.
- Flicker type. Match it to the source before touching anything else. LED and fluorescent presets behave differently; the wrong one can overcorrect.
- Sensitivity. Start at the default. Bump it up only if bands remain visible after a short test render. Too high, and fine texture in clothes or skin starts to smear.
For time-lapse, leave the detection range wide. For slow-motion, keep it narrow. A short test render after each change keeps the surprises small.
Inside After Effects, Premiere, Resolve, or Final Cut Pro, it sits on the clip. One effect. One pass.