
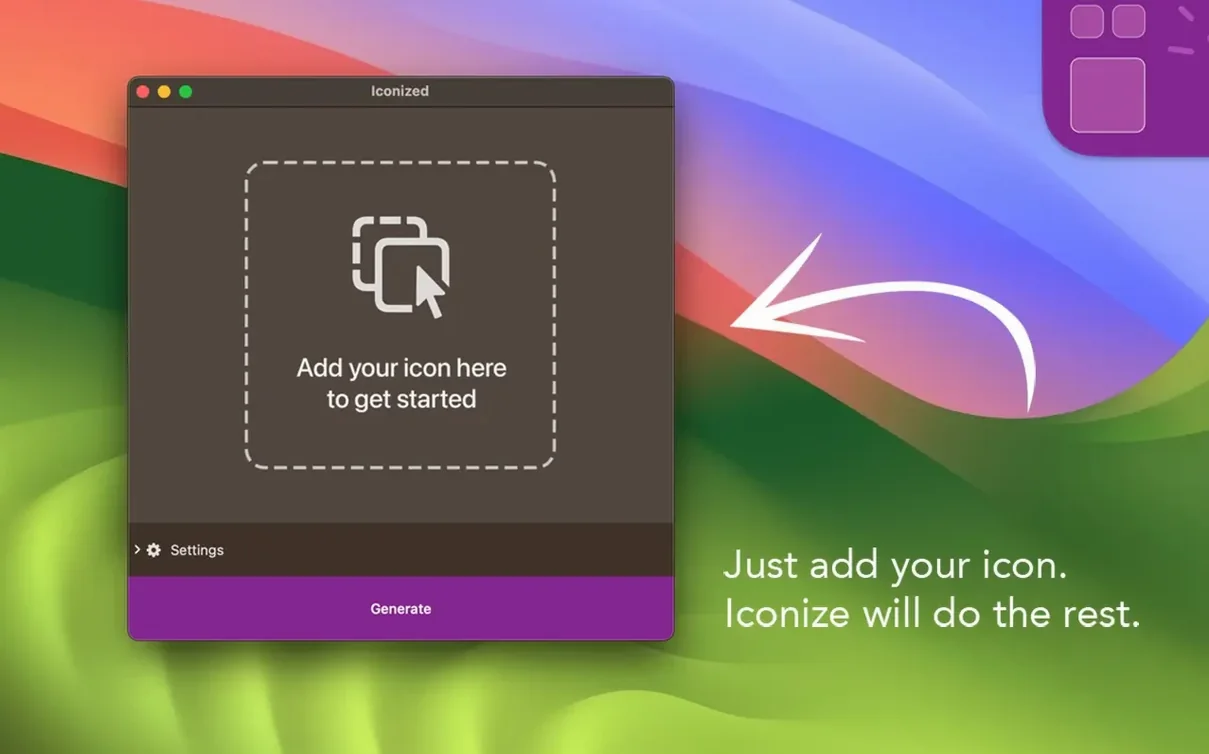
Changing an app icon usually means opening Finder, copying, pasting, and hoping it sticks. Enough small steps to feel like a chore.
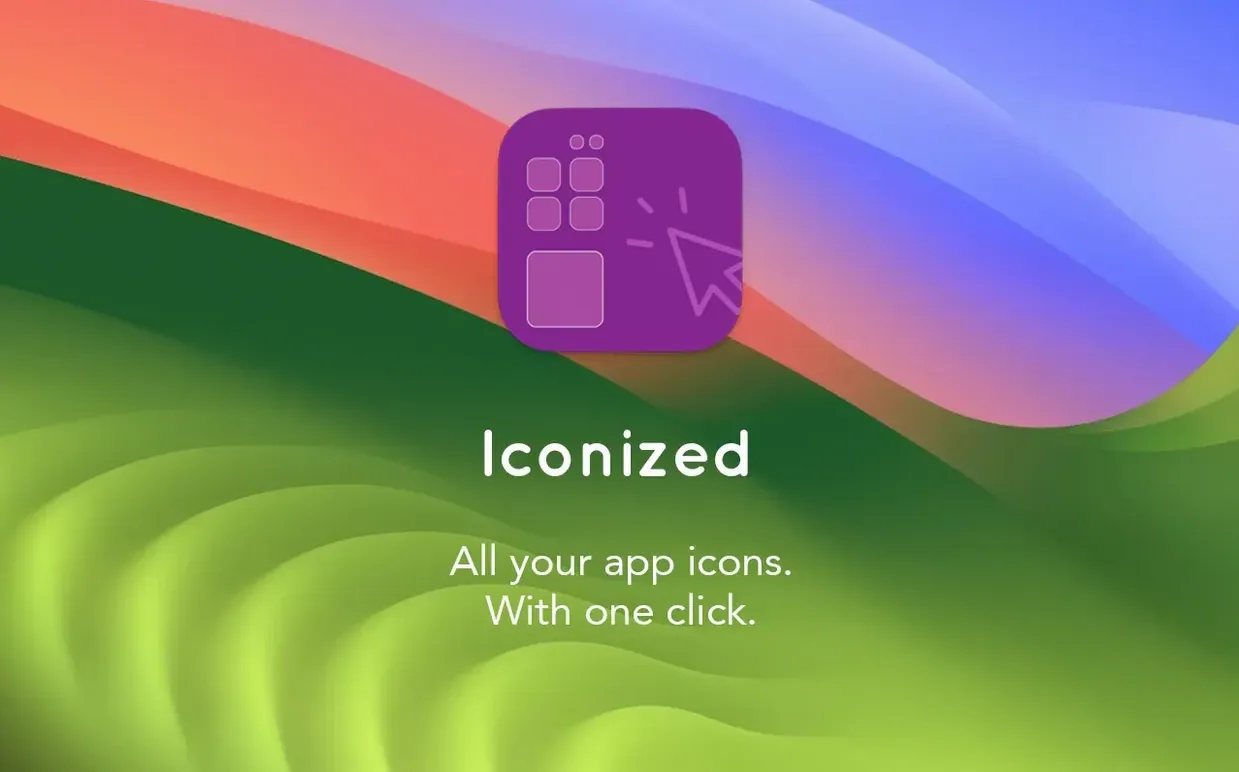
Iconize removes all of that.
Drag-and-drop speed
- Dragging a single image in and getting a working icon back, fast
- Customizing individual apps, folders, or files without hunting through menus
English-only interface
- Interface is English only
- macOS 11 or later required
A designer’s afternoon
A freelance brand designer keeps client work separated by folder. Each project folder gets its own icon—drawn in Sketch, dropped into Iconize, and applied in seconds. No digging through Get Info panels. The padding slider keeps every icon consistent across the grid, even when source images have odd proportions. By the time a client call starts, the desktop reads like a project board.
Padding and radius
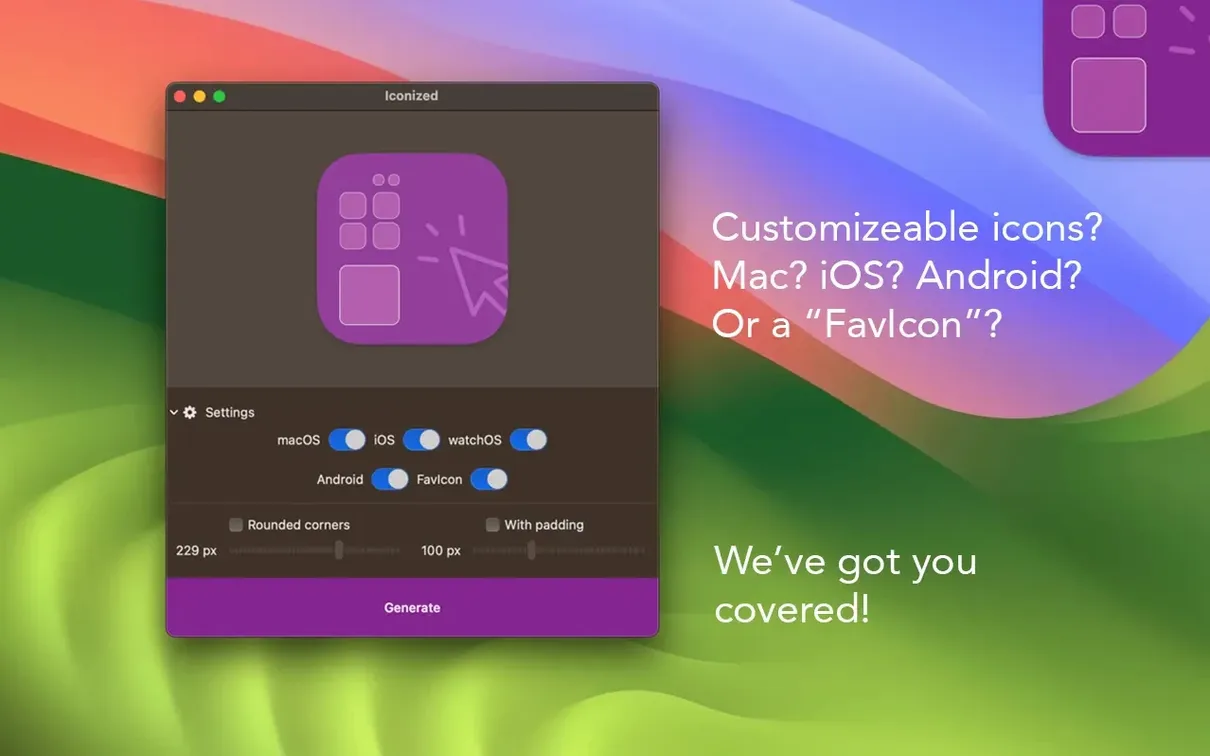
The default corner radius and padding work for most cases, but two controls deserve immediate attention. Drop the padding to zero if your image already fills the canvas edge to edge. Raise the corner radius slightly when matching the roundness of Big Sur–era system icons. A small change here prevents that slightly-off look.
Also switch the output format to .icns when replacing app icons directly. The default works fine for folders, but apps expect the older format.
Low-res source images
The most common mistake: dragging a low-resolution source image and expecting sharp results at every size. Iconize generates multiple sizes from what you give it. A 256-pixel PNG stretched from a 64-pixel original will show it. Start with at least 1024 pixels on the longest side.
Another misstep is applying an icon while the target app is running. The change often reverts. Quit the app first, apply the icon, then relaunch. Simple, but skipped constantly.
Some users also overlook that iconize macos handles the format conversion automatically. Overthinking the file type before dragging it in just adds unnecessary steps. Let the app do the work.
One image in, one icon out. That is the whole workflow.