

Photographers who print. People who stay up late refining a single frame. The ones who treat an edit like a darkroom session, not a batch job.
Nik Collection is a set of plugins that slot into Photoshop, Lightroom, Affinity, or DxO PhotoLab. It doesn’t take over your workflow. It adds a few rooms to the house.
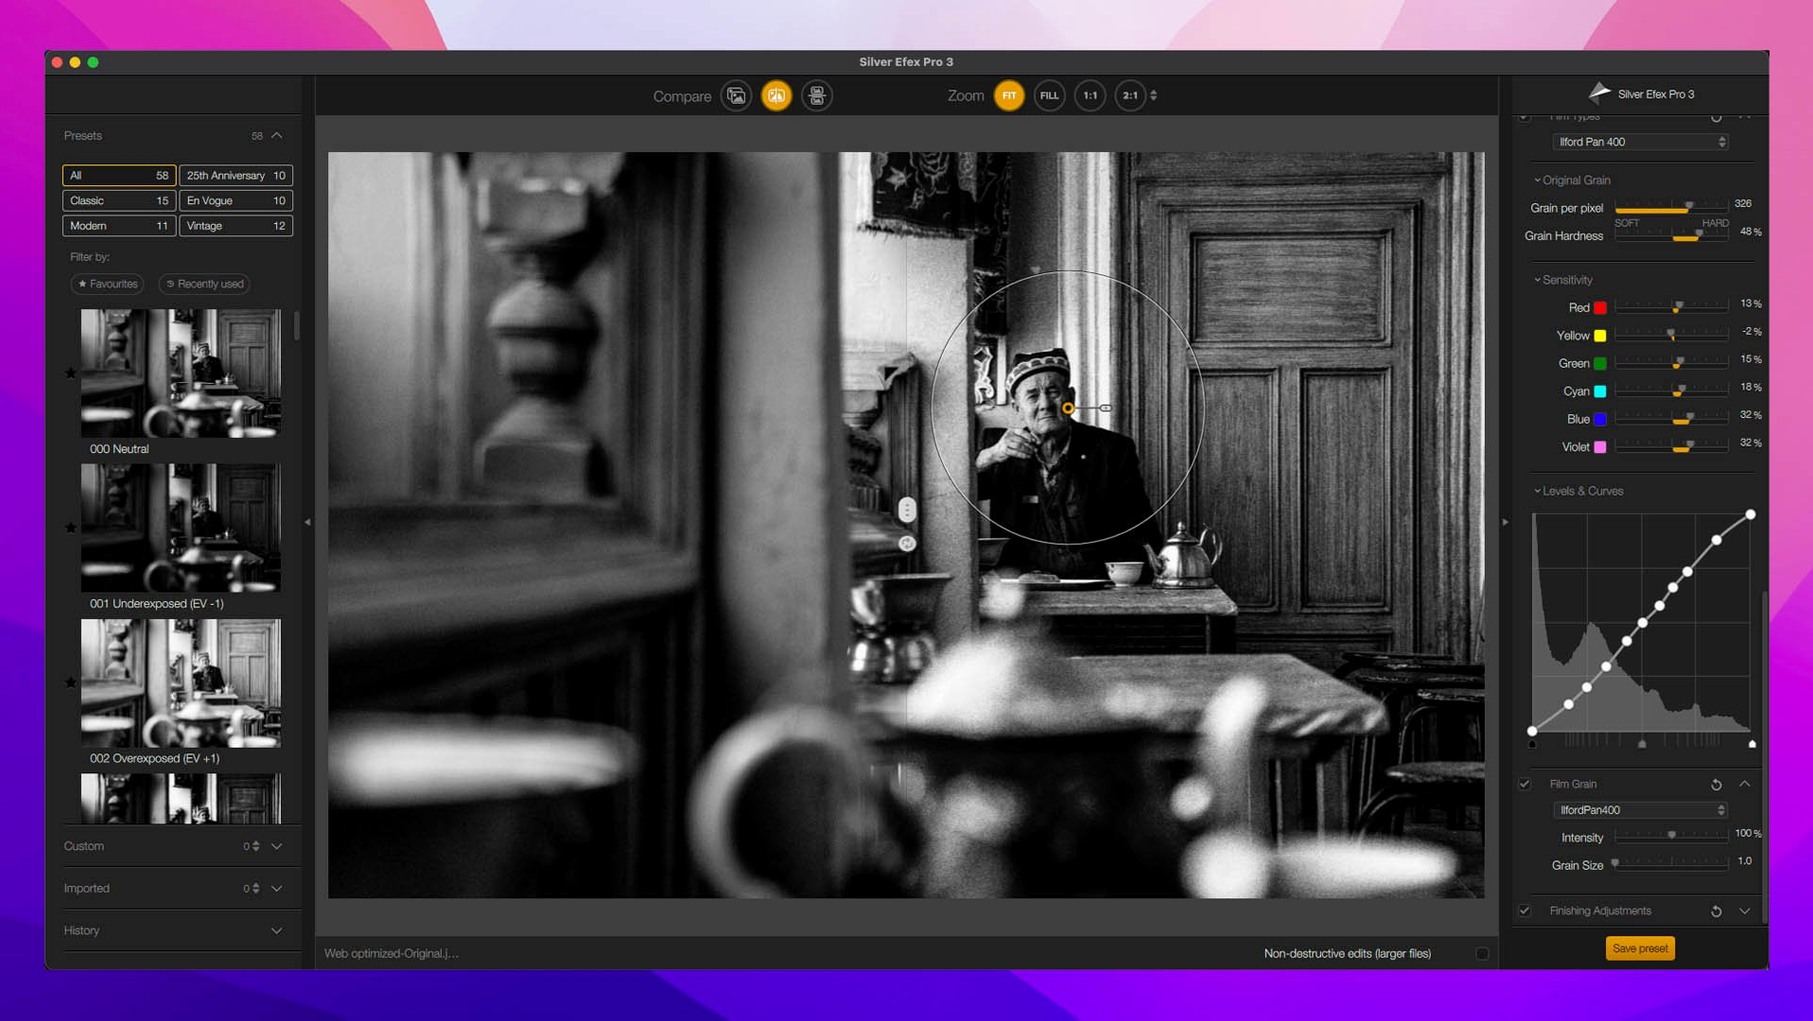
Analog film
- Black-and-white conversion that feels like film stock selection
- Subtle color grading with the new tool in Color Efex
- Precision sharpening at 16-bit depth
- Building layered analog looks from over 80 effects
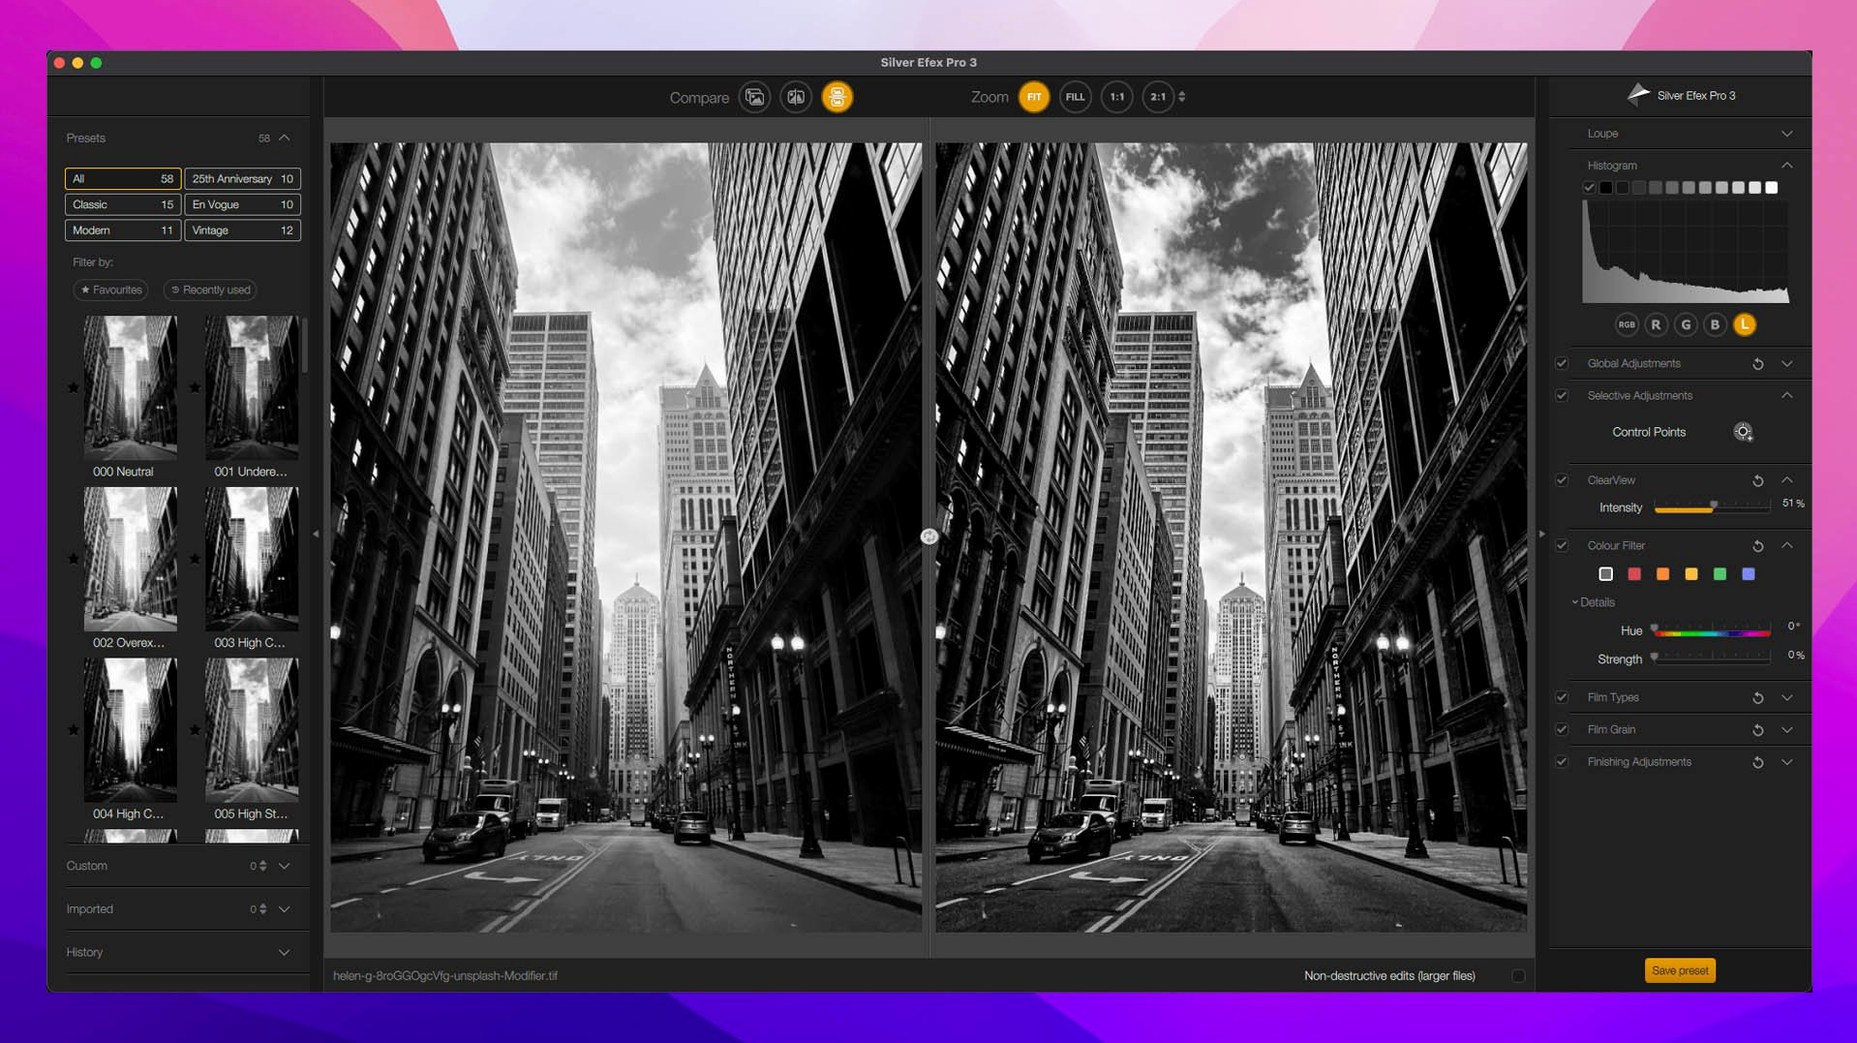
- Comparing edits with a split before-and-after view
Dense interface
- You need a host application — it doesn’t run standalone
- The interface density rewards patience
- Presets are a starting point, not the finish
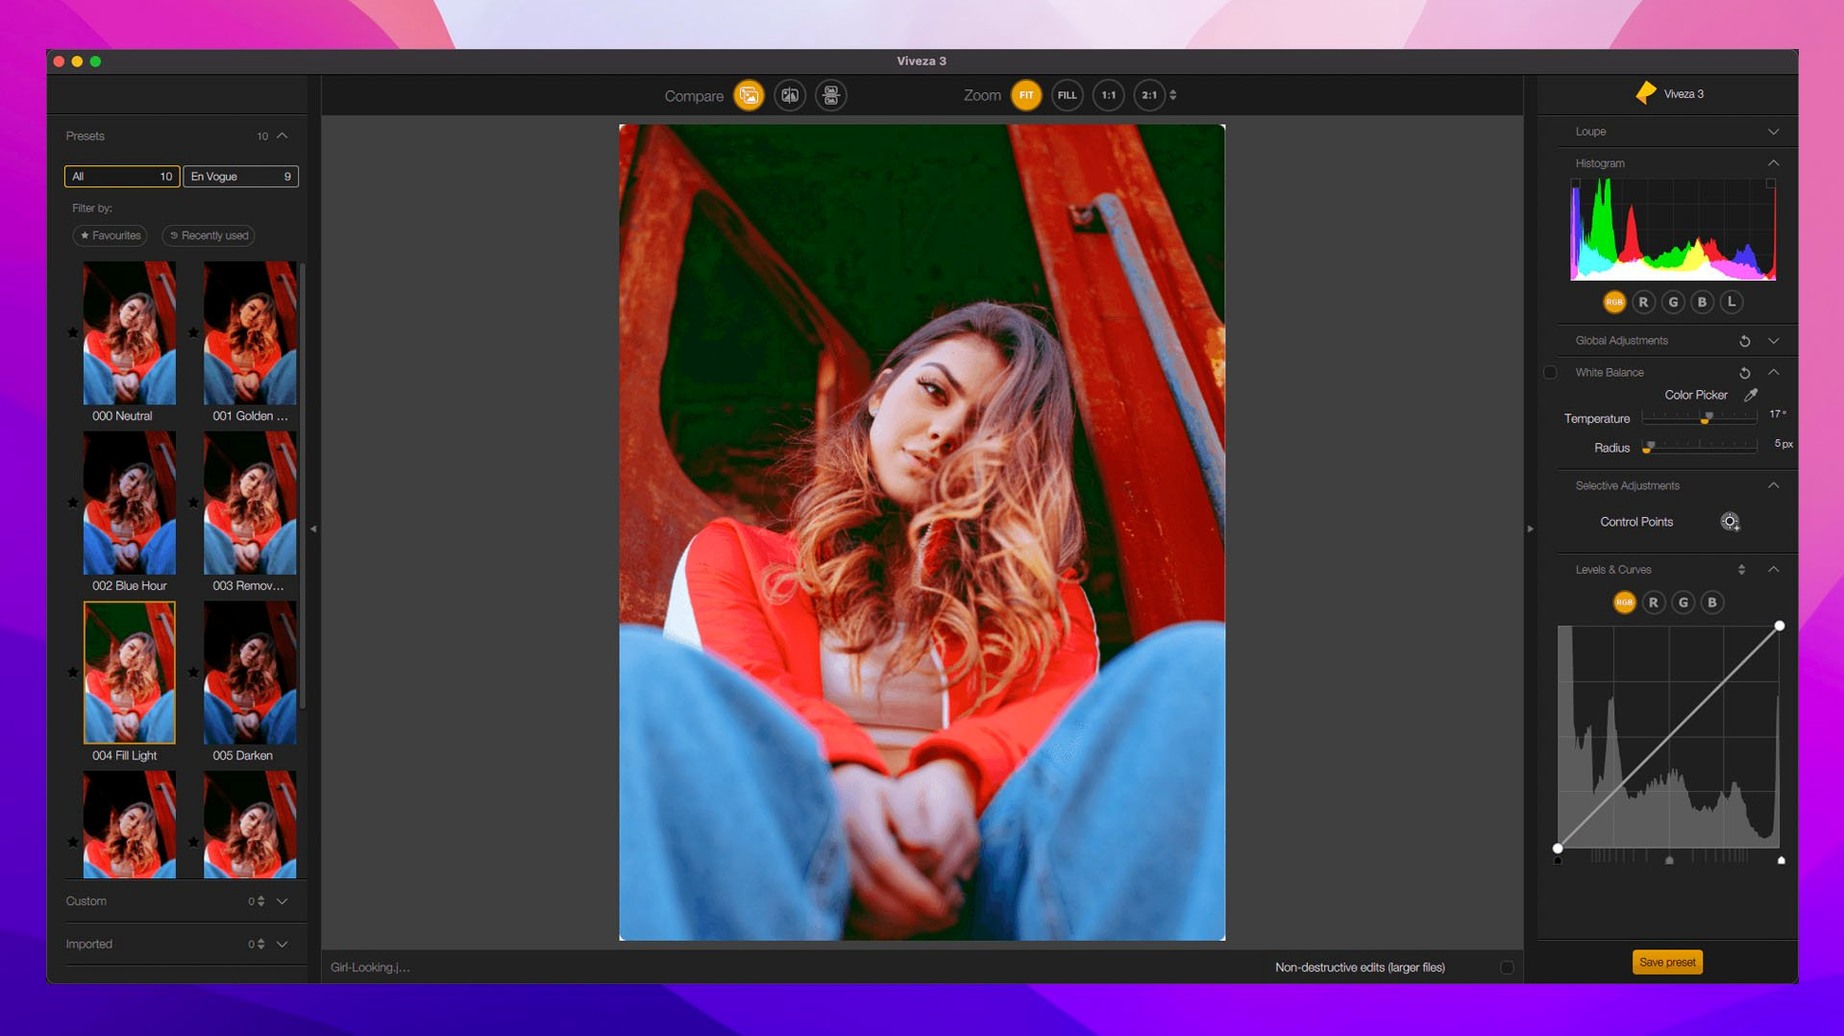
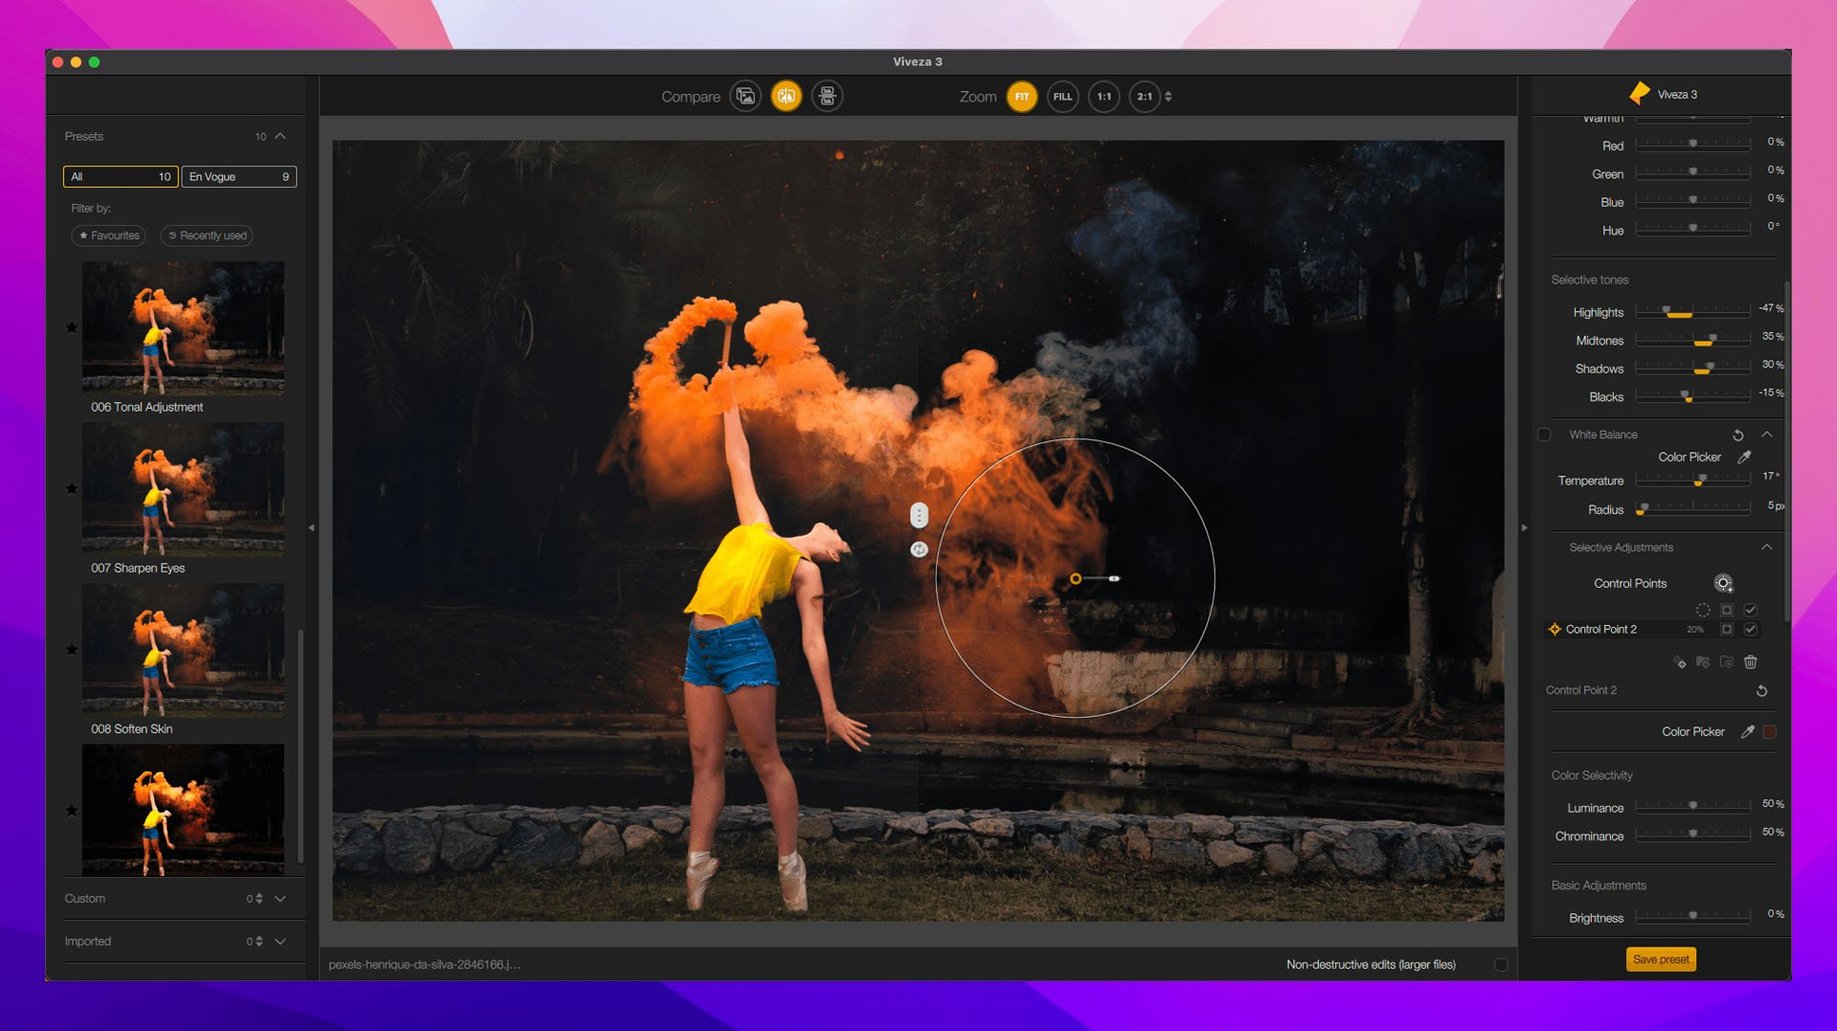
A landscape photographer who prints at A2 or larger will notice Sharpener Pro immediately. The 16-bit pipeline and per-area preview mean you build output sharpening for a specific paper and viewing distance — not a generic screen preset. Wedding and portrait editors lean hardest on Viveza and Dfine. One control point on the iris, another on the skin, and the color correction stays local without brushing a mask. Architecture and product shooters often live inside Perspective Efex for most of a session.
If you already reach for a plugin when Lightroom’s local tools feel coarse, you are the audience. If you habitually stack three or four adjustment layers just to shape contrast, Silver Efex Pro will feel like a shortcut, not a toy.
Host required
A few questions repeat across forums and group chats. One: does it replace Lightroom? No. It extends the edit where the host stops. Another: can you use it with Apple Photos? Not directly. The plugins call Photoshop, Lightroom Classic, Affinity Photo, or DxO PhotoLab as their host. A third: is the GPU hit heavy? The AI masks and overlays appreciate a discrete GPU, but an Apple Silicon Mac with unified memory handles most operations smoothly. And the question about which version to look for — a Nik Collection Mac torrent search often surfaces older builds. The current 9.0 release with depth masks and halation is what’s on your screen.
Fix skin
You open a raw file in Lightroom. The exposure is right but the background feels flat and the model’s skin has a magenta cast from a nearby wall. You send a TIFF to Color Efex Pro. The new Color Grading tool lets you push warmth into the mids and pull the shadows toward teal without making a mess of the skin tones.
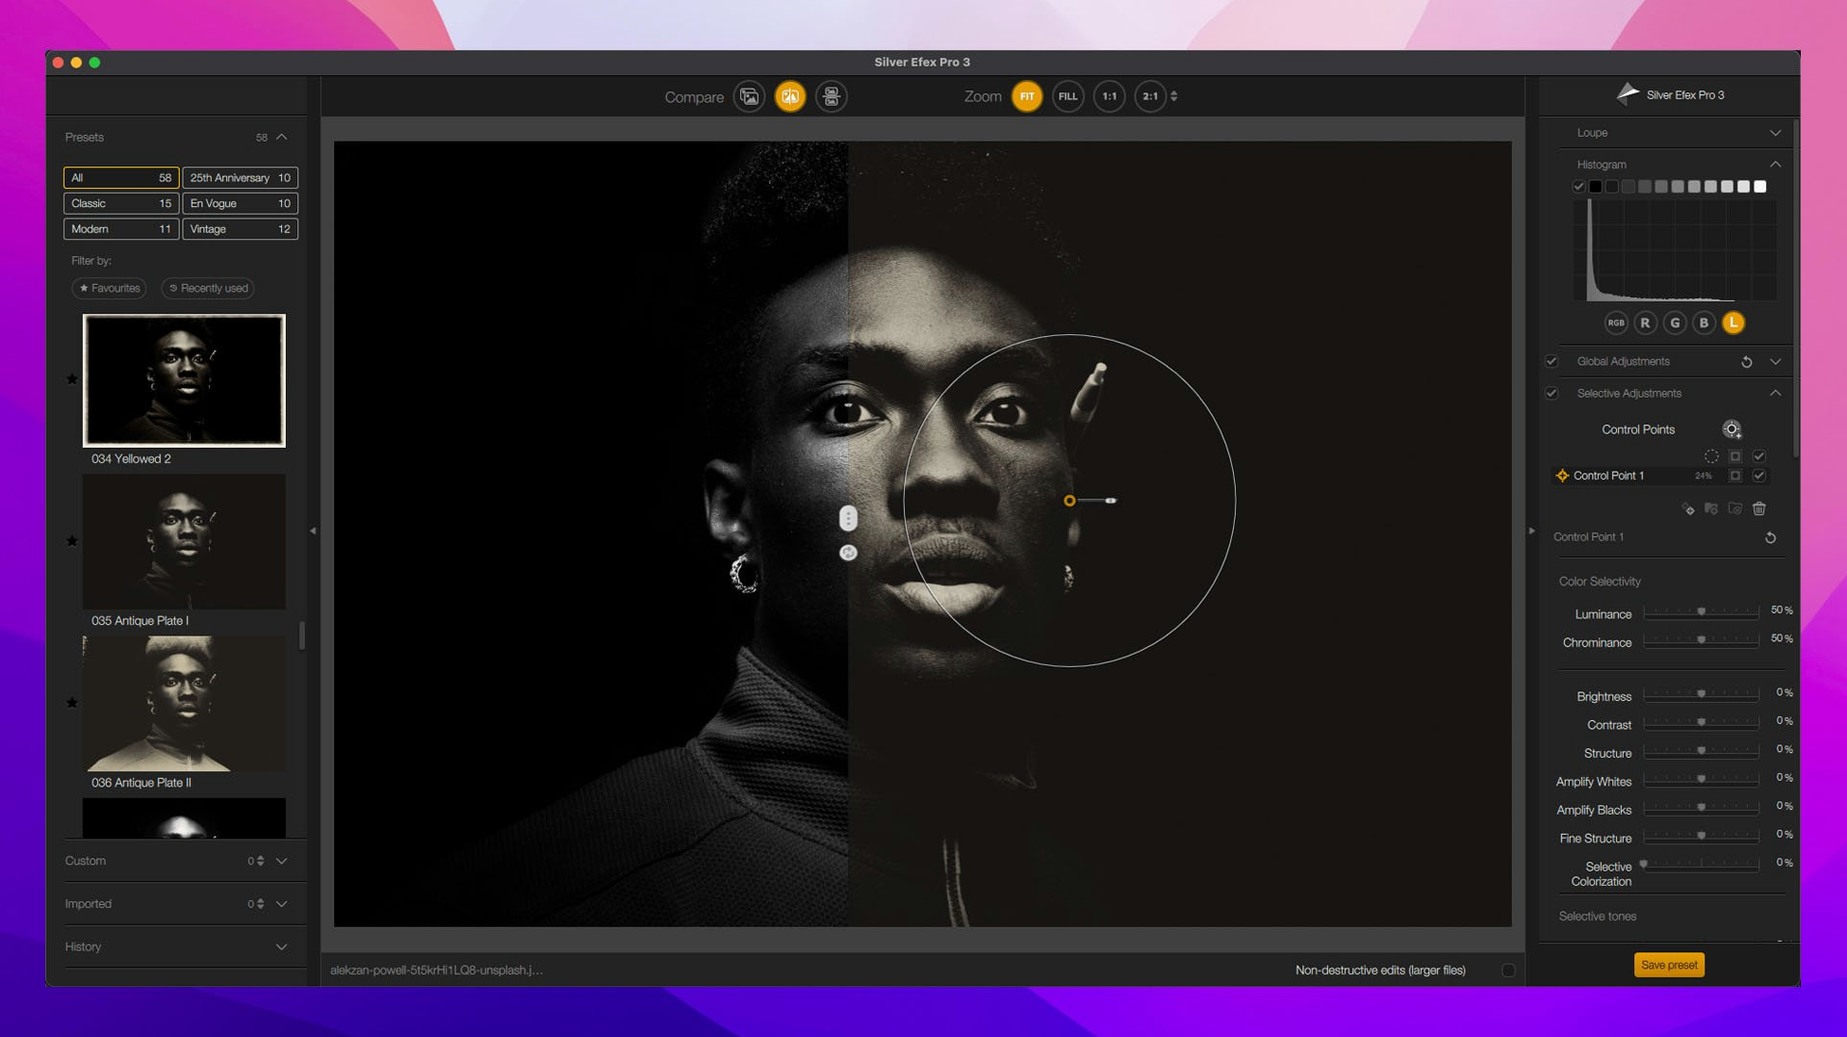
You drop a control point on the cheek, narrow the radius, and pull the red channel down a few points. Another point on the backdrop lifts contrast just behind the shoulder. The mask overlay shows exactly where your adjustments land. You close Color Efex, then send the same frame to Silver Efex Pro for a quick split-screen preview. You decide against monochrome today, but the exercise teaches you where the luminance values sit.
Back in Lightroom, you sharpen for a 13-inch print on matte cotton rag. Sharpener Pro lets you preview the output at 1:1 and adjust the structure until the eyelash detail feels right but not crunchy. Twenty minutes, three plugins, no round-trips to a separate application. The session ends with an export — and a note to revisit the edit tomorrow, because Viveza’s luminance slider might open the shadows just a touch more efficiently than your first pass.
Version 9 adds depth masks, AI masks, and halation. Small things that remove guesswork from local adjustments.