
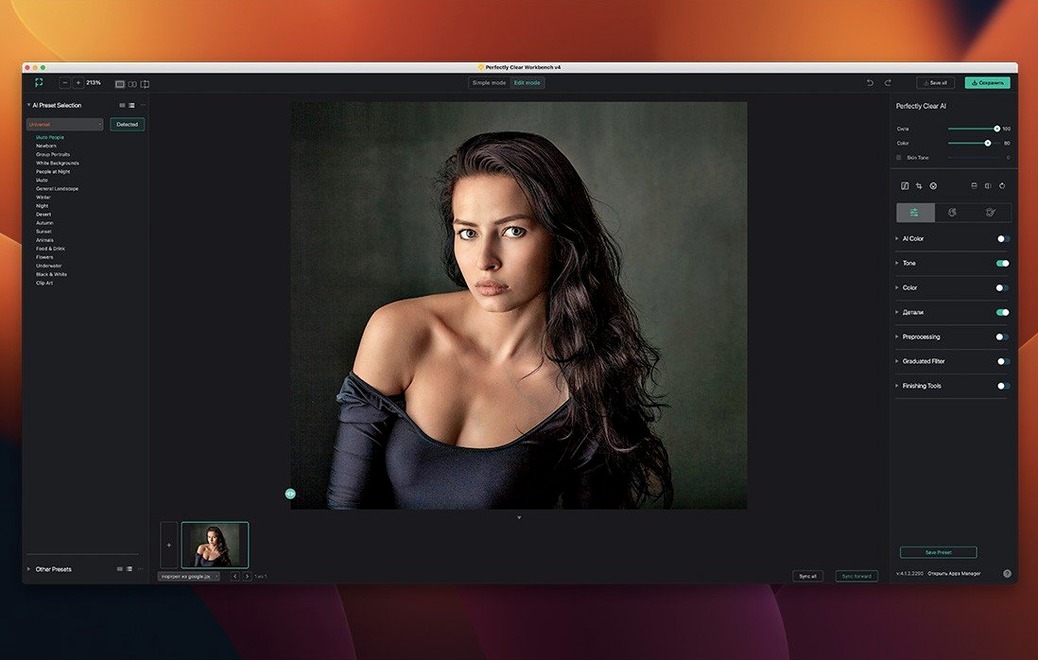
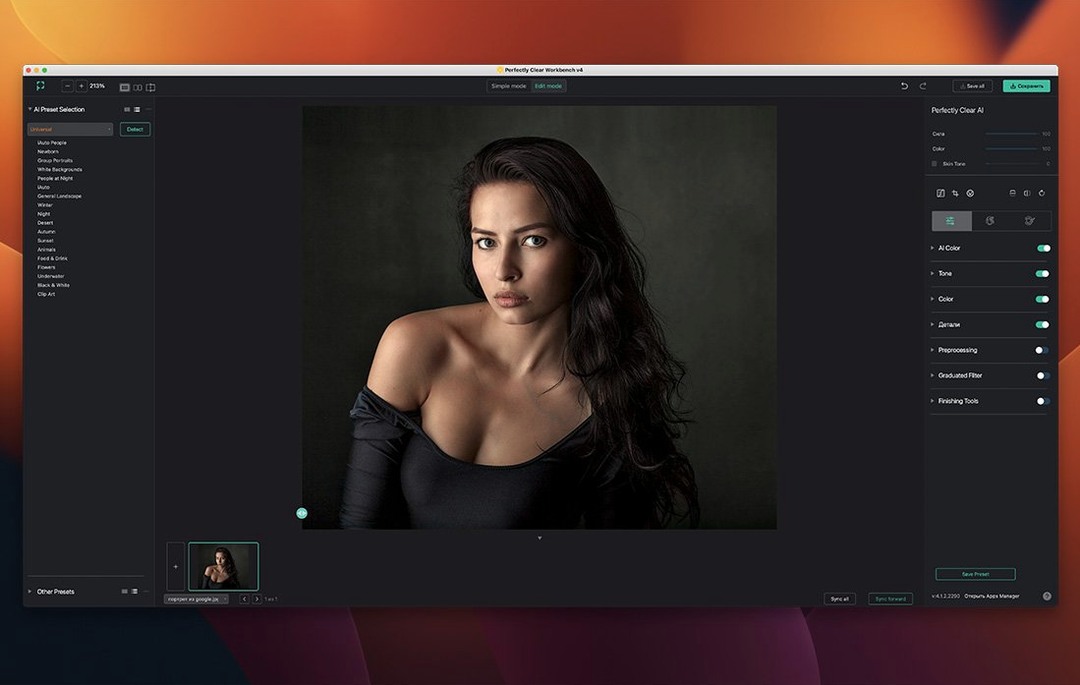
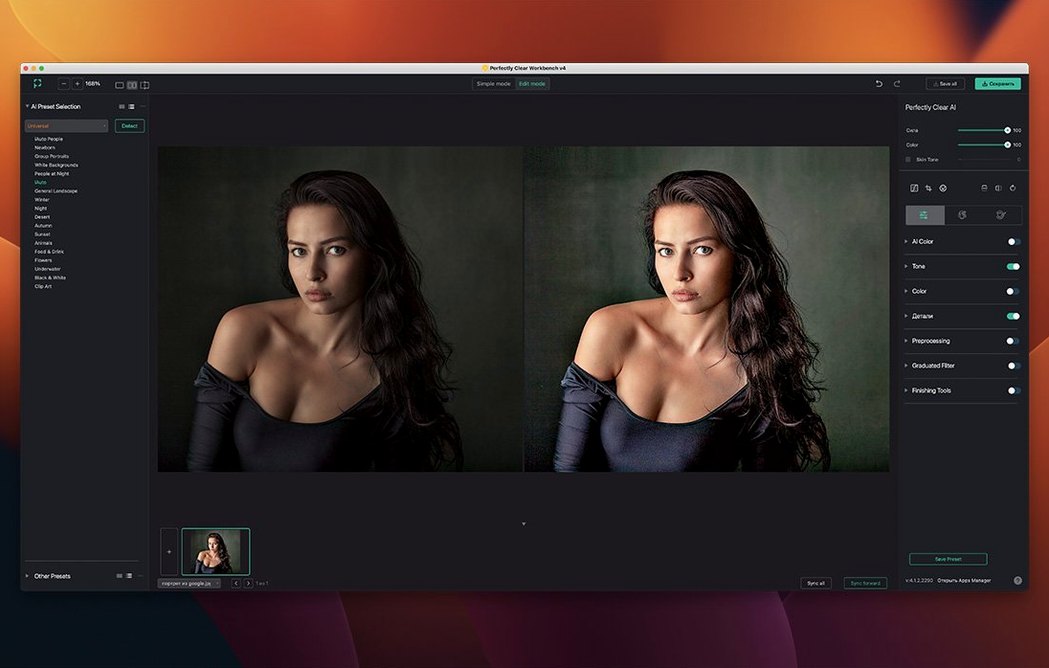
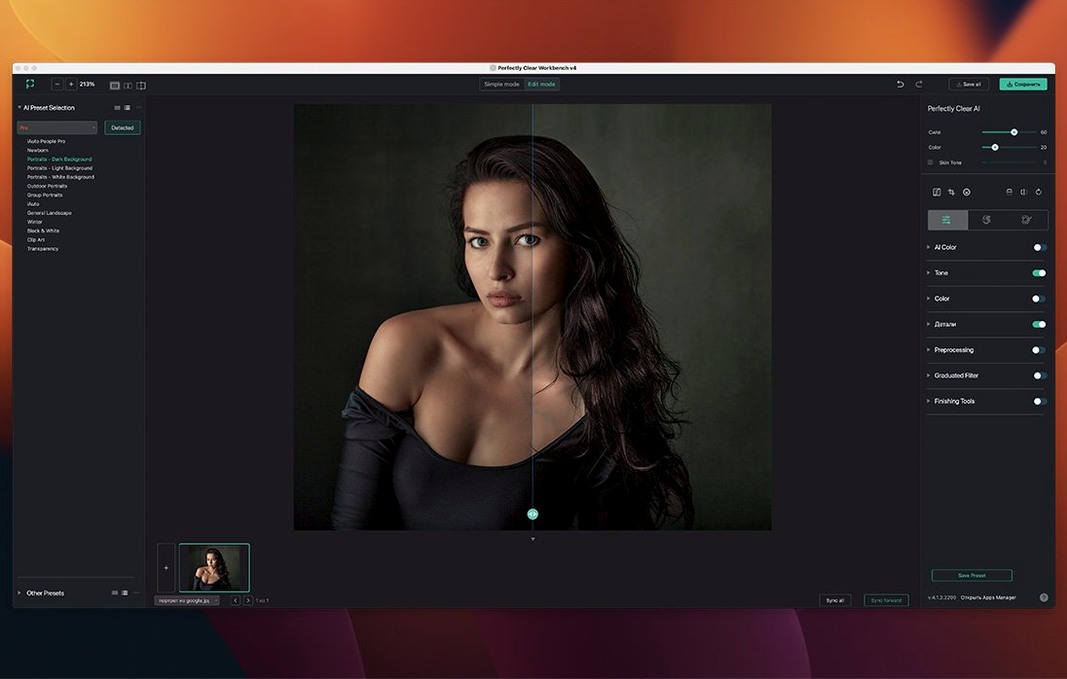
Think of it as the engine room behind the one-click Perfectly Clear corrections you may already know. WorkBench is where you build, test, and export those settings.
Preview
Load an image and step through the correction libraries. A new histogram shows you exactly what each adjustment changes.
Tune
Adjust skin tone with improved color pickers, set a black point, or scale individual faces with one click. Every tool is built for precision.
Export
Photo editors running production batches are the natural audience. You test settings here, not in front of a client. SDK users get equal value — WorkBench is the sandbox where you prove a preset before it becomes an API-ready text file.
Anyone who corrects portraits across different lighting conditions will use the face-aware tools daily. The pre-processing section for Input Looks and manual exposure correction also makes it useful for advanced amateurs who prefer to build their own look rather than rely on auto modes.
RAW workaround
Does it work with RAW files directly? No. Open your RAW in Adobe Camera Raw, pass it into Photoshop, then into WorkBench. The application expects RGB images at 8-bit or 16-bit color depth. Monochrome and CMYK files need conversion first.
Is this the same correction as the Lightroom plug-in? Same libraries, different purpose. This is a workbench, not a plug-in. You evaluate corrections, tune them further, then export settings for reuse. It does not integrate into a Lightroom catalog.
Beginner assumptions
The most common mistake is treating it as a photo editor. There is no clone tool, no layers, no local brush work. WorkBench corrects an image globally using Athentech’s libraries. If you spend ten minutes looking for a dodge-and-burn panel you will leave frustrated.
Another early error is ignoring the preset manager improvements. New users often tweak, export, then never save the preset inside the app. A week later the exact settings are gone. Save your work inside WorkBench first, then export.
Some beginners also skip the histogram entirely. The new interface puts it in view for a reason — watch how Black Point and Color Brightness shift the data before you commit.
Save your processing settings for reuse in other apps or the image correction SDK. Quick export keeps your workflow moving.