

You open a raw file shot at ISO 12800. Chroma noise weaves through the shadows. A bystander in a red jacket pulls the eye from the subject. You have fifteen minutes before the client sees the proof.
Denoise
The AI model reads the noise pattern and separates it from detail. It recovers eyelashes and fabric texture where a manual luminance mask would smear them. Run it once. No stacking.
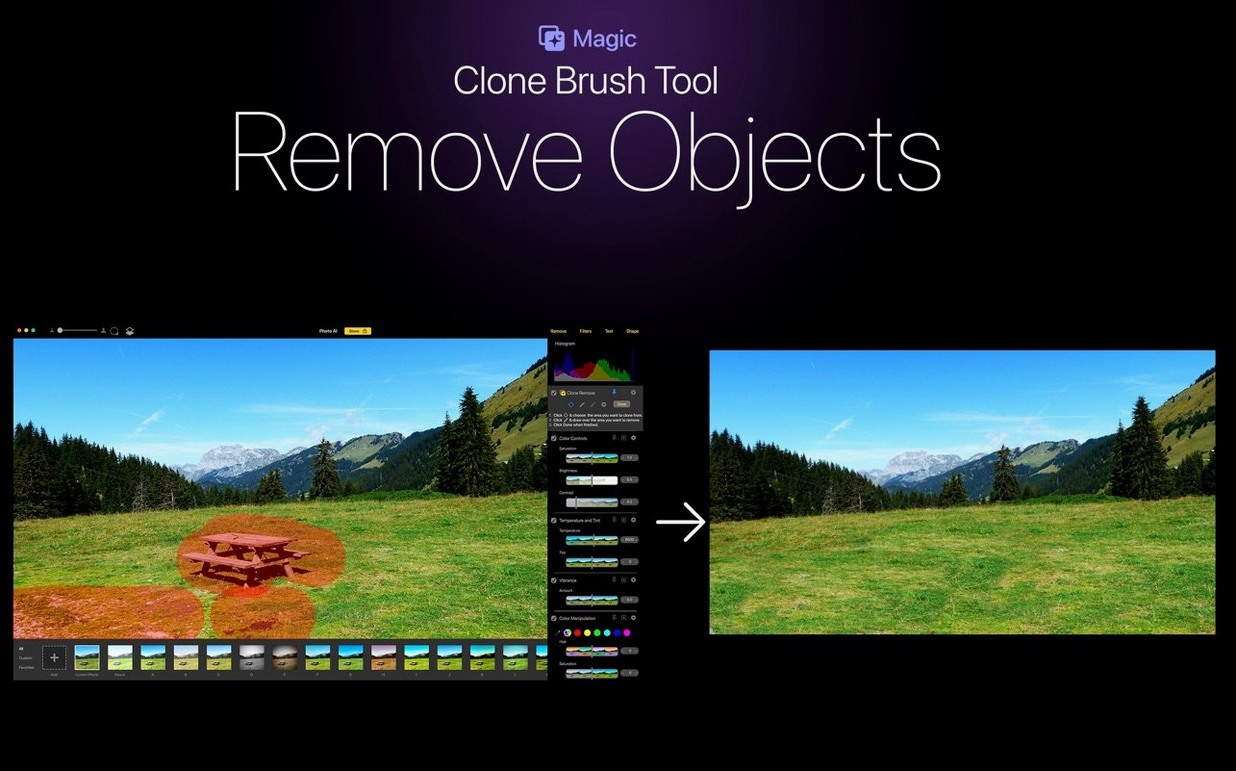
Remove
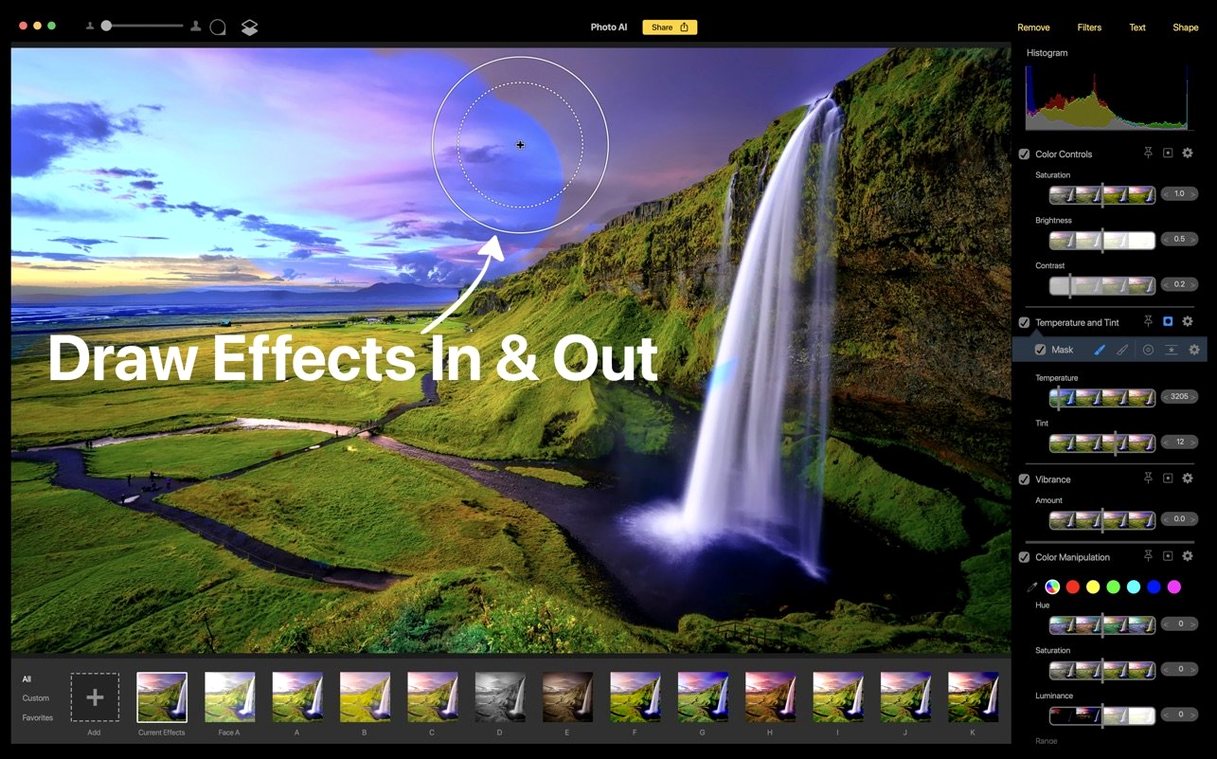
Content-aware object removal understands surrounding pixels well enough that you brush over the distraction and move on. It handles complex backgrounds better than the clone stamp on a tight deadline.
Sharpen
Motion blur and soft focus from a missed focal plane correct differently. The app distinguishes between them and applies the right recovery. You get a printable file without Photoshop rounds.
Split-screen compare
Open preferences before your first real edit. Two settings matter more than the rest.
Set the compare view to split-screen instead of side-by-side tabs. It keeps the before and after on one monitor without moving your eyes across the application window.
Turn off automatic model selection for sharpen. The AI guesses well, but manual control gives you a predictable baseline. You learn what the models do when you choose them yourself.
Worst files first
Start with five of your worst files. Not your best. The tool shows its character on noisy, soft, cluttered images.
Work on a copy, never the original. The app edits non-destructively, but habits matter when a client file is involved.
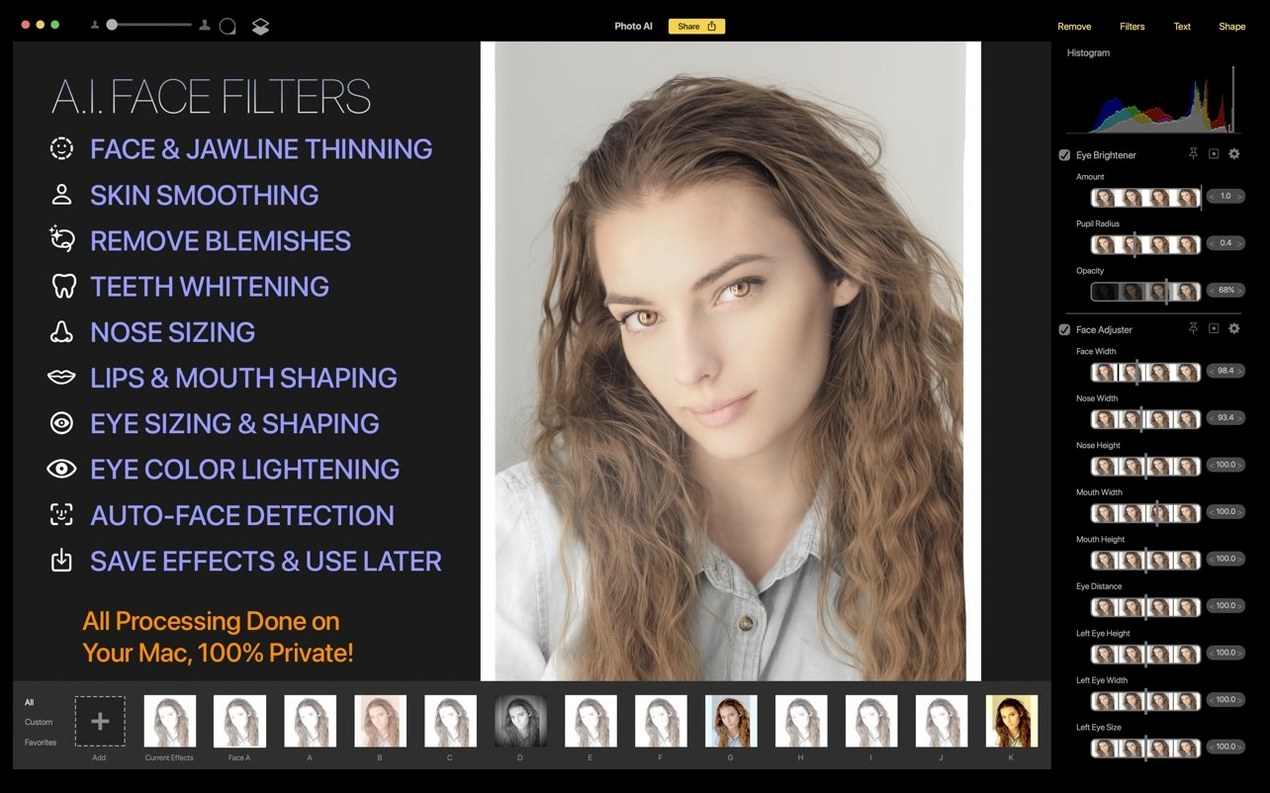
Watch the preview at 100 percent. The small preview hides halos and plastic-looking skin. Zoom in before you accept a face filter.
Keep an export folder named topaz_pass. Send everything through it for the first week so you can compare results side by side later.
Noisy market portrait
A portrait shot against a busy market backdrop. The subject is sharp, but the ISO pushed to 6400 and two people stand too close behind her.
- Open the raw file and run denoise first. Let the model map the grain before any other change touches the pixels.
- Switch to remove and brush over the two background figures. Work in short strokes, not one long sweep.
- Apply sharpen at a low strength, around 25 to 30. The image is not soft, so heavy recovery would add edge artifacts.
- Add a face filter last. Lower the default intensity by a third. The model over-smooths on default settings.
- Export a full-resolution TIFF and a screen-size JPEG from the same pass.
That order matters. Noise first, distractions second, sharpening third, facial recovery last. Each step changes what the next model sees.
Sharpen after denoise
Running sharpen before denoise is the most frequent error. Sharpening amplifies the noise pattern, then denoise has to work against its own input. The result looks brittle.
Brushing too wide with object removal confuses the model. It starts filling with repeated textures that do not belong. Tight strokes around the object work better.
Trusting the small preview. The thumbnail hides color noise in shadows and over-smoothing on skin. Check the 100 percent view before export.
Forgetting that Topaz Photo AI processes locally on the Mac. Large batches of high-megapixel files will heat up an Intel machine. Work in short sessions on older hardware.