
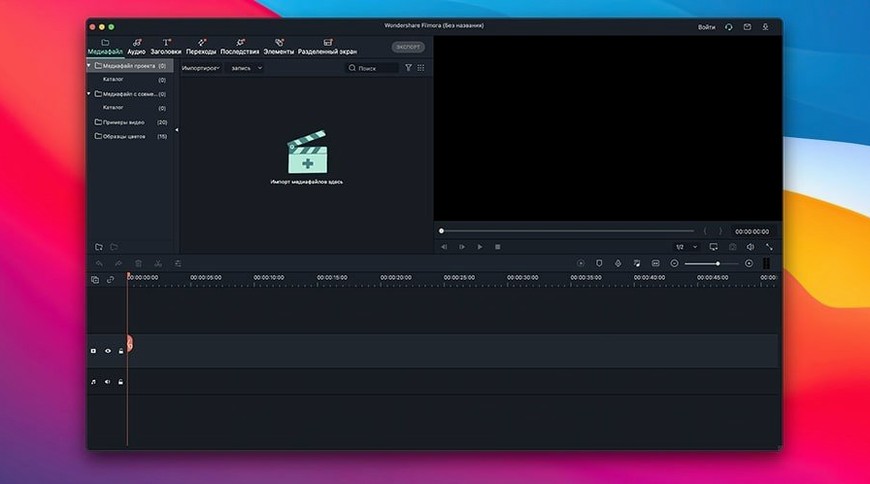
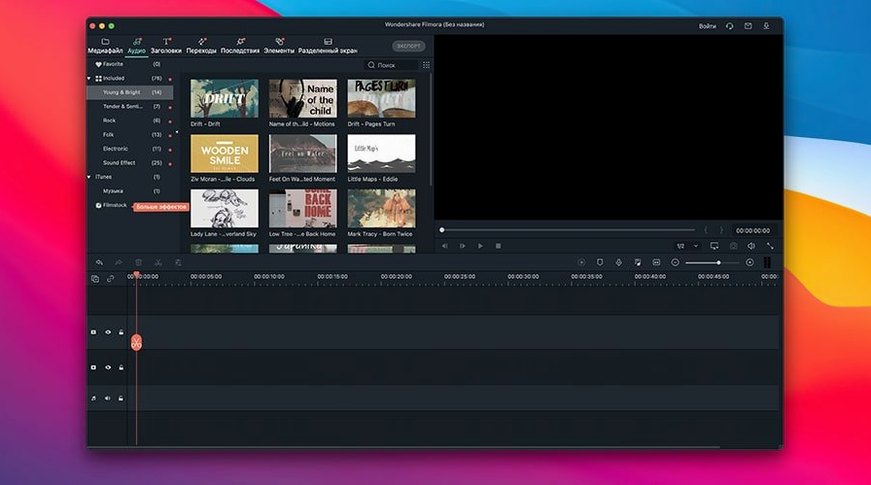
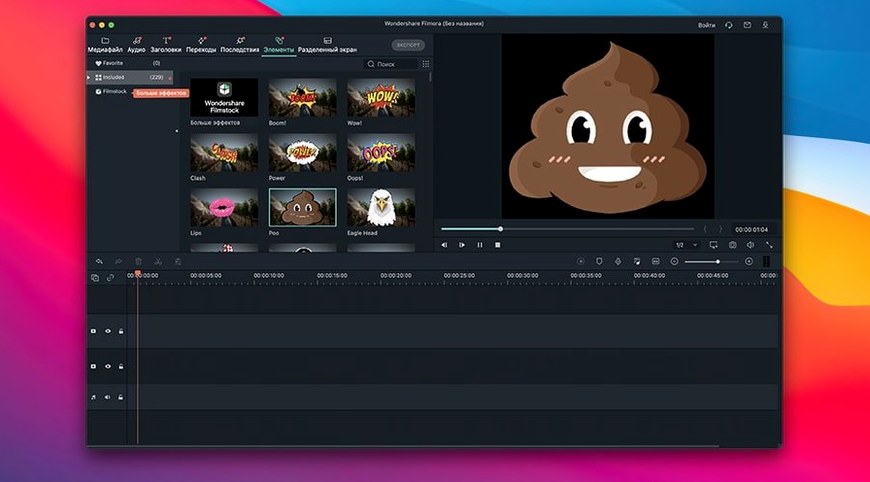
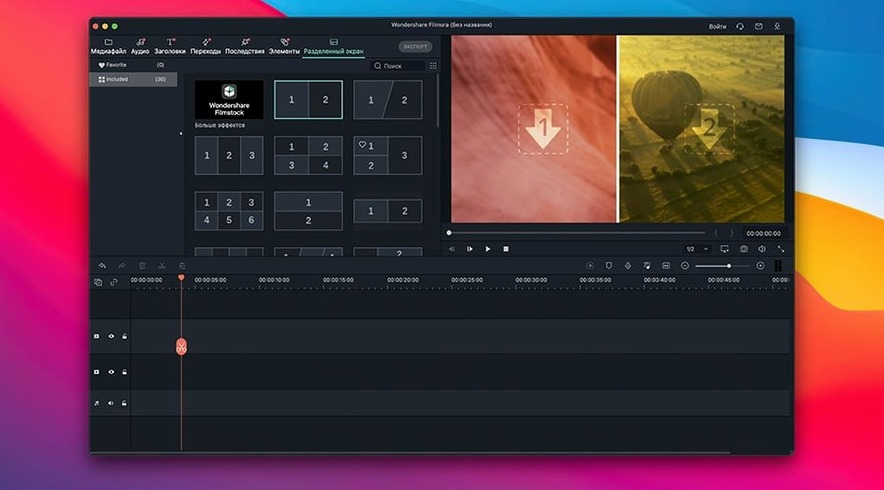
Most editors hand you a grid of knobs before you’ve even trimmed a clip. Filmora clears that noise away. It’s a Mac video editor built for the thing you actually sat down to do: cut, title, rotate, and finish.
Mac compatibility
Yes. Filmora 14 works on Intel Macs and Apple M1 through M4 chips. If your Mac runs macOS 10.14 or later, the installer won’t argue. The interface comes in Russian, Japanese, French, and a dozen other languages.
Basic edits
You can cut a clip, rotate a phone video, and add titles or subtitles. The timeline handles HD footage without drama. When the edit is done, export straight to the web services you already use. It covers the basics cleanly.
Kill auto-proxy
Filmora ships with a few defaults worth undoing immediately.
Turn off the automatic proxy generation. It kicks in for clips above a certain resolution and adds a progress bar where you didn't ask for one. If your Mac handles the footage natively, you save time.
Then find the playback quality toggle. Switch it from Full to Half while editing. The preview stays smooth on less powerful machines, and the final export is unaffected.
Last, check the auto-save interval. The default is ten minutes. I set it to five and forget about it. Losing an hour of trims to a crash is a choice you don't need to make.
Vlogger workflow
Mia runs a food channel. She shoots on her phone, often in portrait, often in mixed kitchen light. Her weekly edit includes a title card, some B-roll cuts, and captions for silent viewers.
She brings her clips into Filmora from a folder on the desktop. The phone footage appears upright, already rotated correctly. She trims the dead air at the start of each clip with a single drag. A split removes the part where the cat walked across the counter. She adds lower-thirds from the built-in library, types the ingredient names, and drags a fade transition between the intro and the first cooking shot. The whole thing takes under forty minutes. She exports to her channel directly from the export dialog.
Mia doesn't touch keyframes or color wheels. She never opens the audio mixer. Filmora stays out of the way, and that's exactly what she wants from a Mac video editor.
Speed, stability, footprint
On an M1 MacBook Air with 8 GB of RAM, Filmora launches in under five seconds. Scrubbing through a 1080p timeline with two video tracks and a text layer stays responsive. No beach ball. The fan never spins up, because there isn't one.
Memory use sits around 600 MB with a simple project open. That climbs past 1 GB when you add filters and overlays, which is normal for this class of software. An Intel Mac mini from 2018 runs it similarly, though the first export of a session takes a few extra seconds while the renderer warms up.
One quirk: leaving Filmora open overnight sometimes causes a sluggish return in the morning. A quick quit and relaunch fixes it. No crashes during exports in testing. No corrupted project files. For a tool often grabbed as a filmora dmg from a clean source, the daily experience is uneventful, which is a good thing.
What the 14.8 versions brought
The jump into version 14 introduced a quieter interface. Fewer floating panels, more space for the timeline. Version 14.8.10 improved the AI denoise effect and optimized the NewBlueFX plug-in set that ships with the installer. The denoise change is subtle but welcome: dialogue recorded in a living room with a fridge humming in the background cleans up without turning voices metallic.
Day to day, the difference between a 13.x build and 14.8.17 is mostly about polish. Export presets load faster. Title templates preview without the half-second lag that used to accompany them. People who look for a Wondershare Filmora Mac crack to test the latest build will notice the timeline feels snappier even on older Intel machines.
If you already used Filmora a year ago, the 14.8 line won't feel like new software. It feels like the same software with the rough edges sanded down.