
Native silicon
Live 12.4.6 needs macOS 12 or later and runs natively on Intel and Apple silicon.
A beat from scratch?
Drag a drum kit from the library onto a MIDI track. Tap in a pattern, then add a bassline from one of the included instruments.
Shaping it?
EQ Eight and a Compressor on the drums. Trim the low end, tighten the attack, until kick and bass stop fighting.
Export?
Empty grid
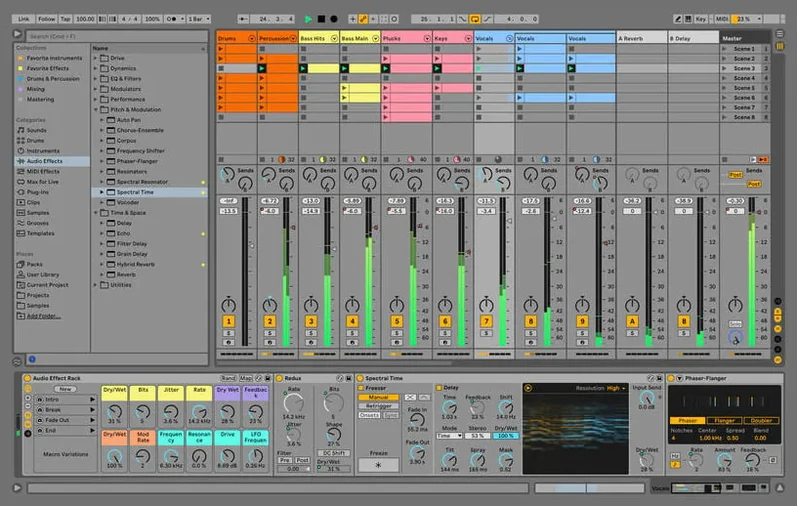
You open a blank Set. The Session View grid stares back, empty cells waiting.
First, you pull in a drum kit. Drag Kit-Core 808 from the browser onto a MIDI track. Four cells get clips immediately — you tap a kick pattern on the first one, a snare on the second, a hi-hat on the third. Three beats in thirty seconds.
Next, a bass sound. You load Drift onto a second track, flip through presets until a warm sub sits right. Play a few notes on your keyboard, record a four-bar loop. The drums and bass lock in.
You add a synth pad with Wavetable, something wide and slow-moving. Three tracks, eight clips, and you already have a sketch that breathes. You copy the scene a few times, mute the kick for a breakdown, bring it back with a hi-hat fill.
The Arrange button waits at the top. You hit it, record your scene launches into a timeline, and now you have a structure — intro, drop, bridge — without ever pressing stop.
Quantize tight
Open Preferences. Two things right away.
Under Record/Warp/Launch, set Record Quantization to something tight — 1/16 works for most electronic music. The default is 1 Bar, which can sound loose if you are playing in beats.
Then Look/Feel. Turn on Show Detail View Automatically. Without it, double-clicking a clip leaves you staring at the same empty panel, wondering where the editor went.
One more: Audio tab. Set your buffer size. Low for recording (128 or 64 samples), higher for mixing (512 or 1024). Live does not warn you when you forget to switch back — you just hear crackles and wonder why.
Tab early
Putting everything in Session View and never learning Arrangement. Session is fast for ideas, but a finished track needs an arrangement. Learn to hit Tab early and often.
Ignoring gain staging. Live's devices and effects do not clip internally, but third-party plugins do. Keep levels around -12 dB per track. Your mix will sound cleaner before you ever touch an EQ.
Using Warp on every clip without checking the mode. Live defaults to Beats mode, which works for drums and nothing else. A piano sample in Beats mode sounds like a broken fax machine. Switch to Complex or Complex Pro for anything melodic.
Dragging effects directly onto tracks instead of using Return tracks for reverb and delay. One reverb on a Return, fed by ten tracks, saves CPU and glues the mix.
Never saving a default template. You load the same drum rack and EQ Eight every time. Right-click a track, choose Save as Default. Next project, it is already there.
Capture MIDI
The Capture MIDI button. Top of the interface, a small circle. You play something without recording — a happy accident — and Capture pulls it back from the void. It listens even when the transport is stopped.
Cmd + Shift + T inserts a MIDI track. Cmd + T an audio track. Memorize these. The menus slow you down.
In the browser, Cmd + F searches instantly. You do not need to click the search bar. Typing "kick" finds every kick sample, rack, and preset across all installed packs.
Hold Option while dragging a clip to duplicate it. Hold Option + Shift to duplicate and keep it locked to the same track lane. Small difference, big time save when building variations.
The little headphone icon on the Master track toggles Solo in Place. With it off, soloing a track mutes returns. With it on, you hear the reverb tail. Most people leave it off and think their returns are broken.
Right-click the metronome. You can set a count-in length, change the sound, or route it to a separate output for a performer's in-ear monitor. Not just a click — a cue system.
Select the length in Arrangement View and choose Export Audio.