
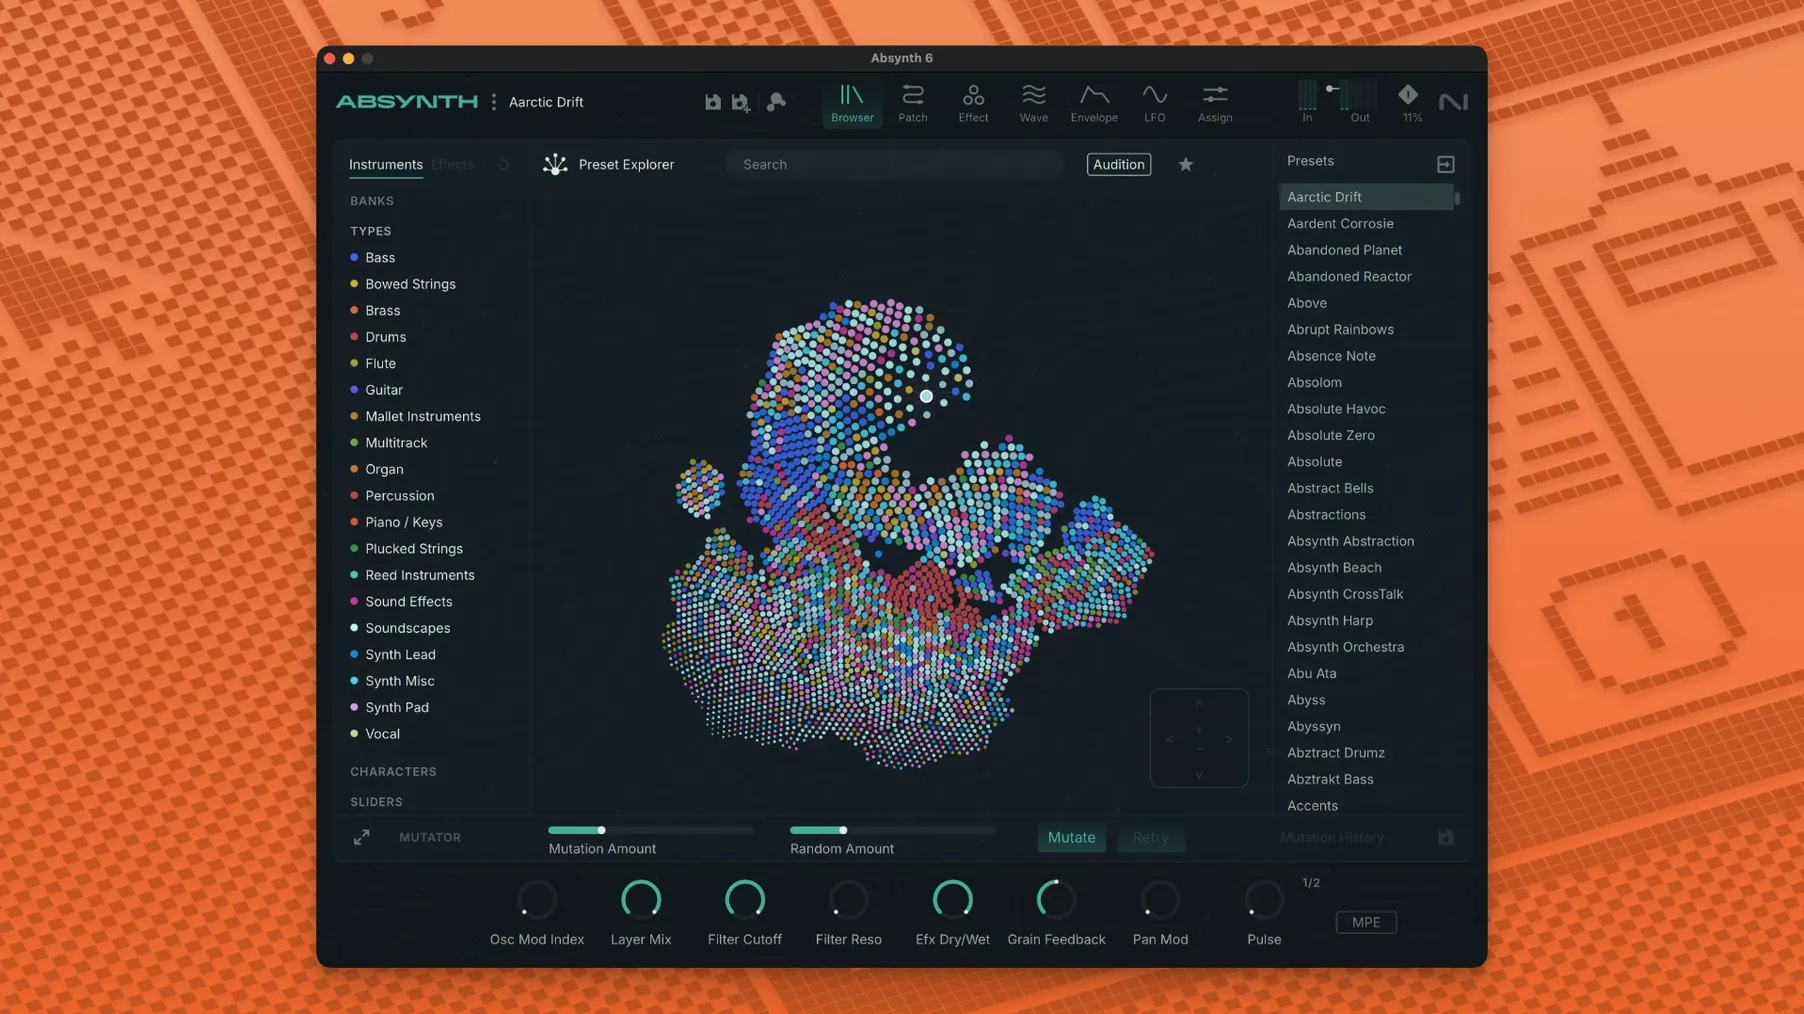
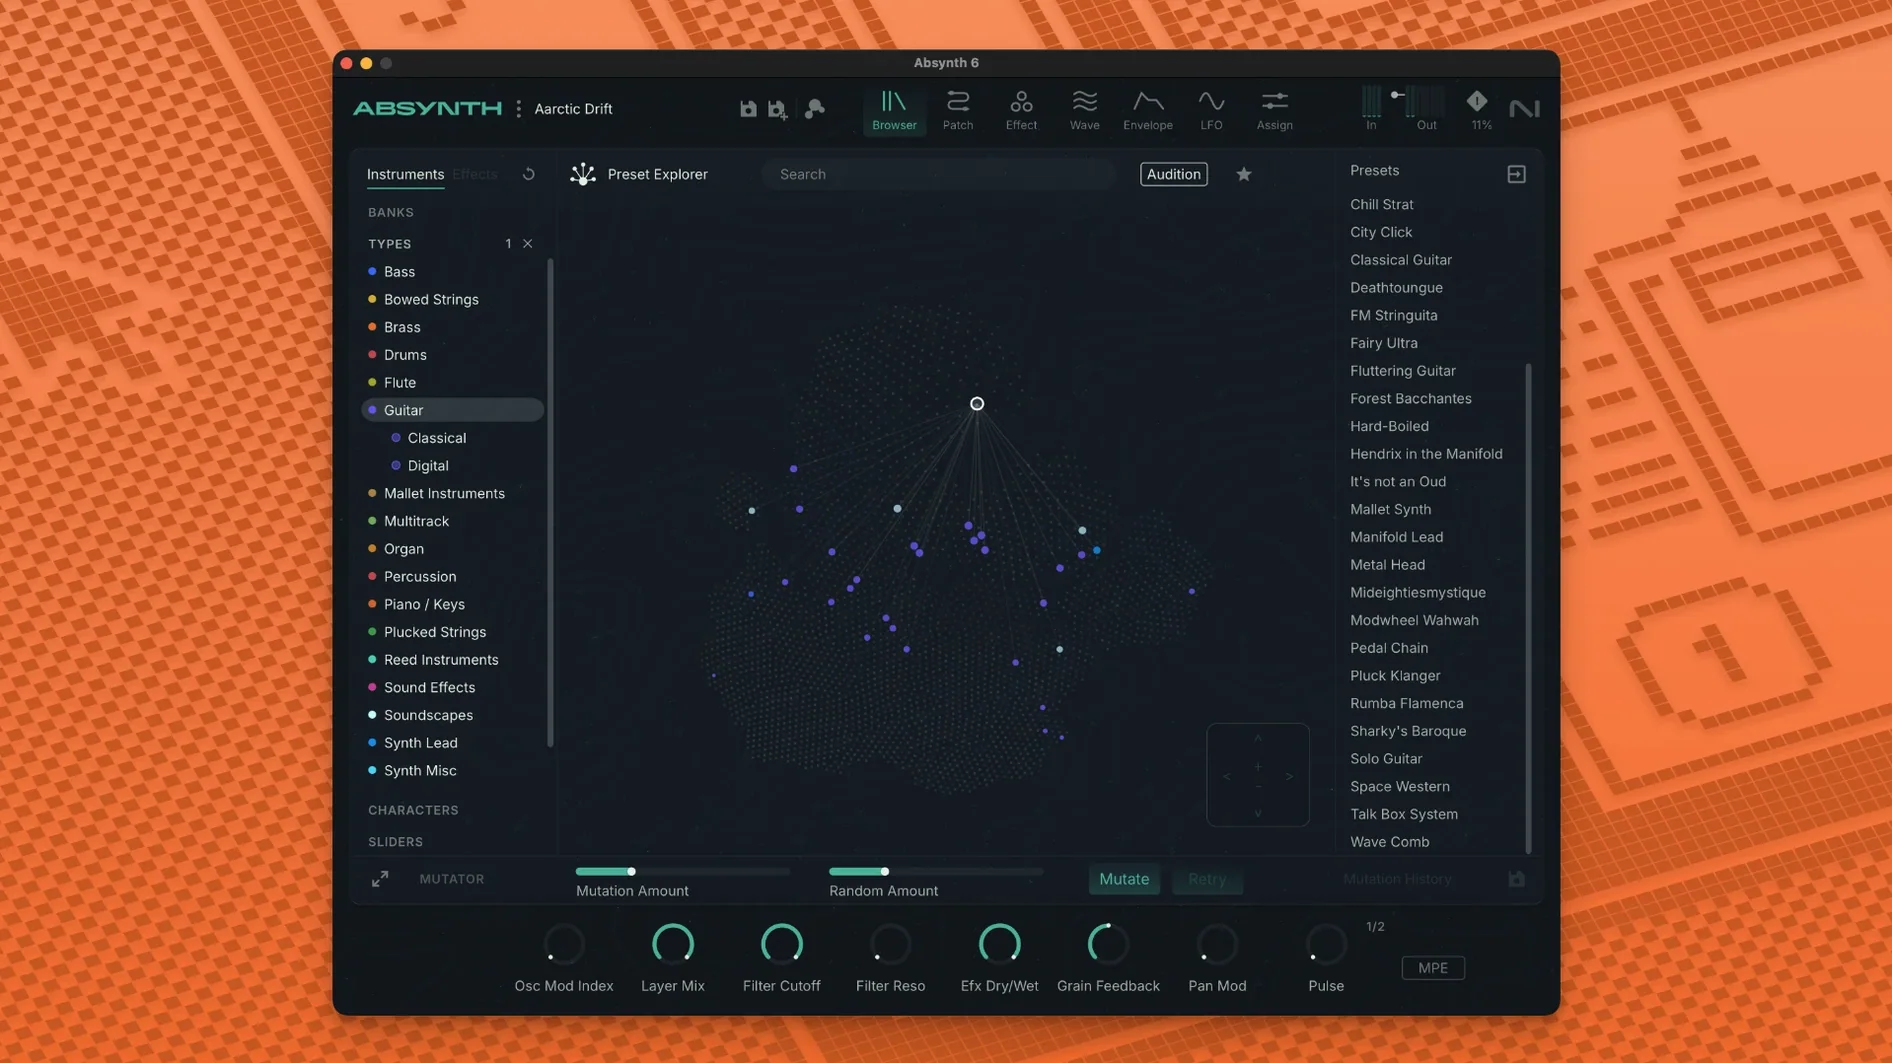
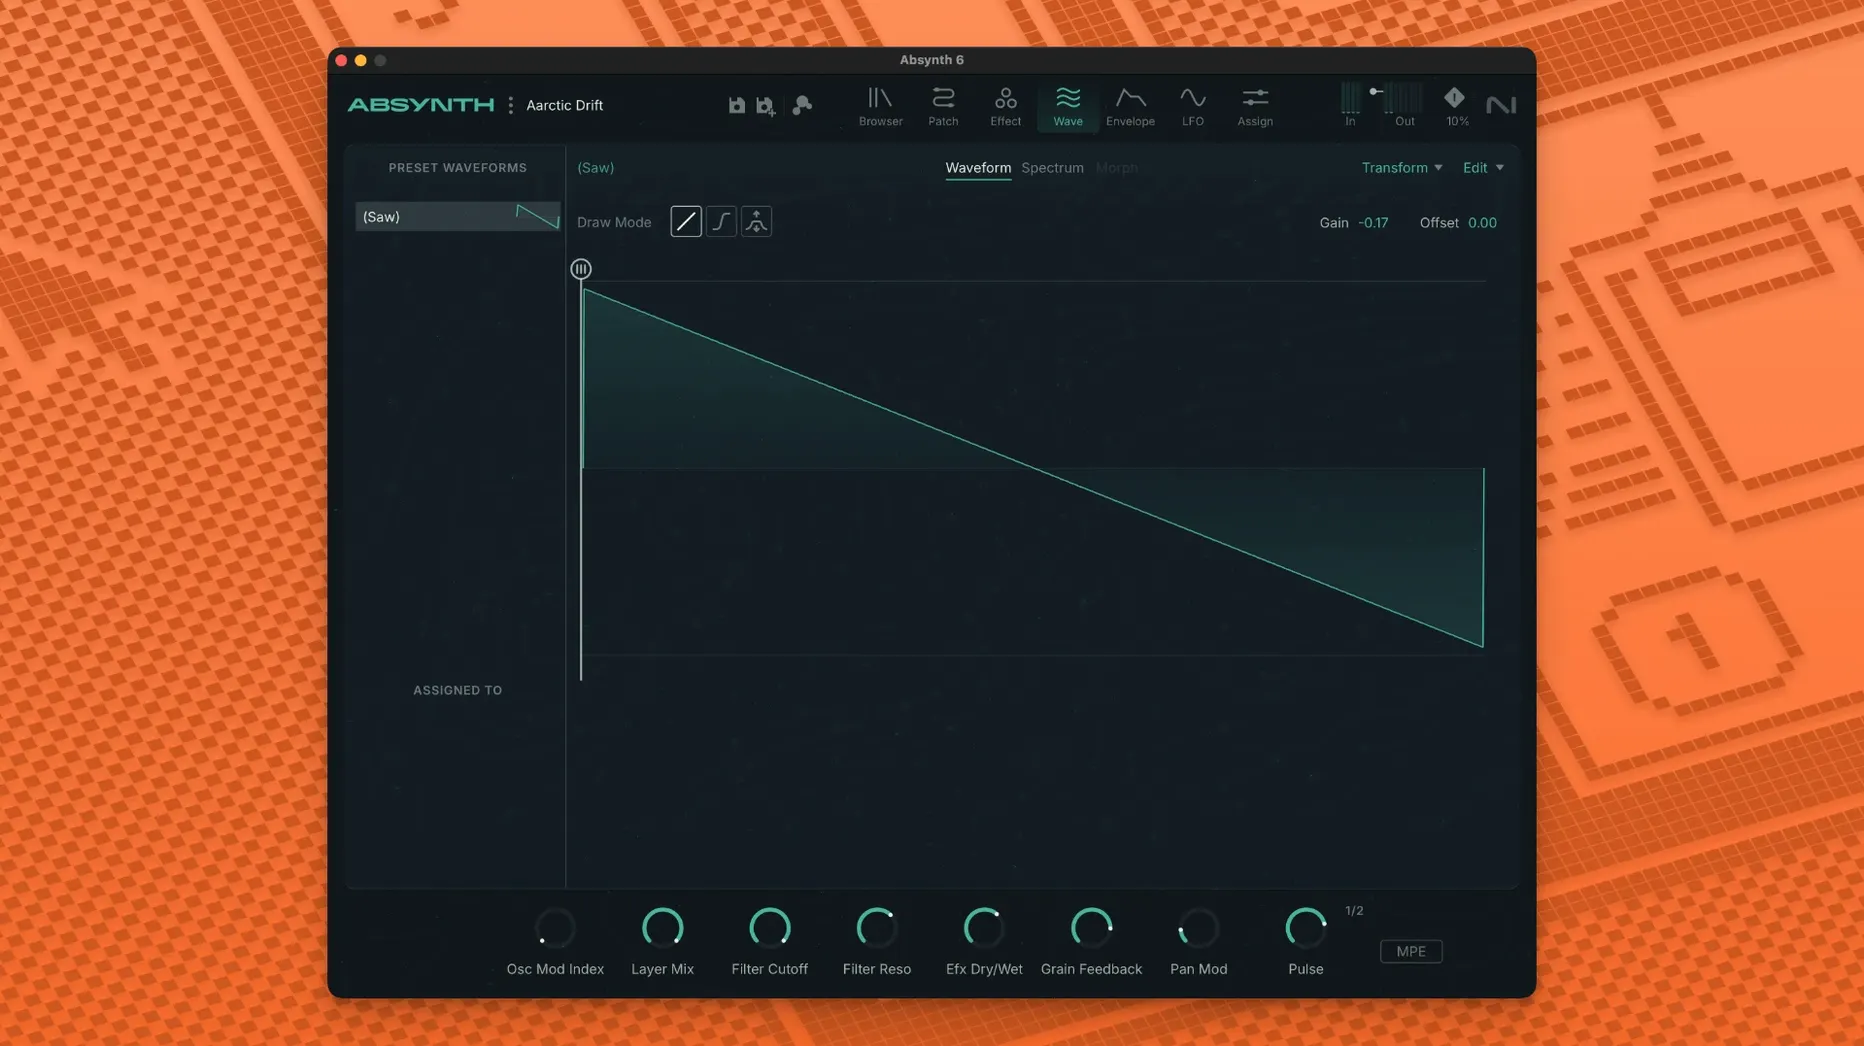
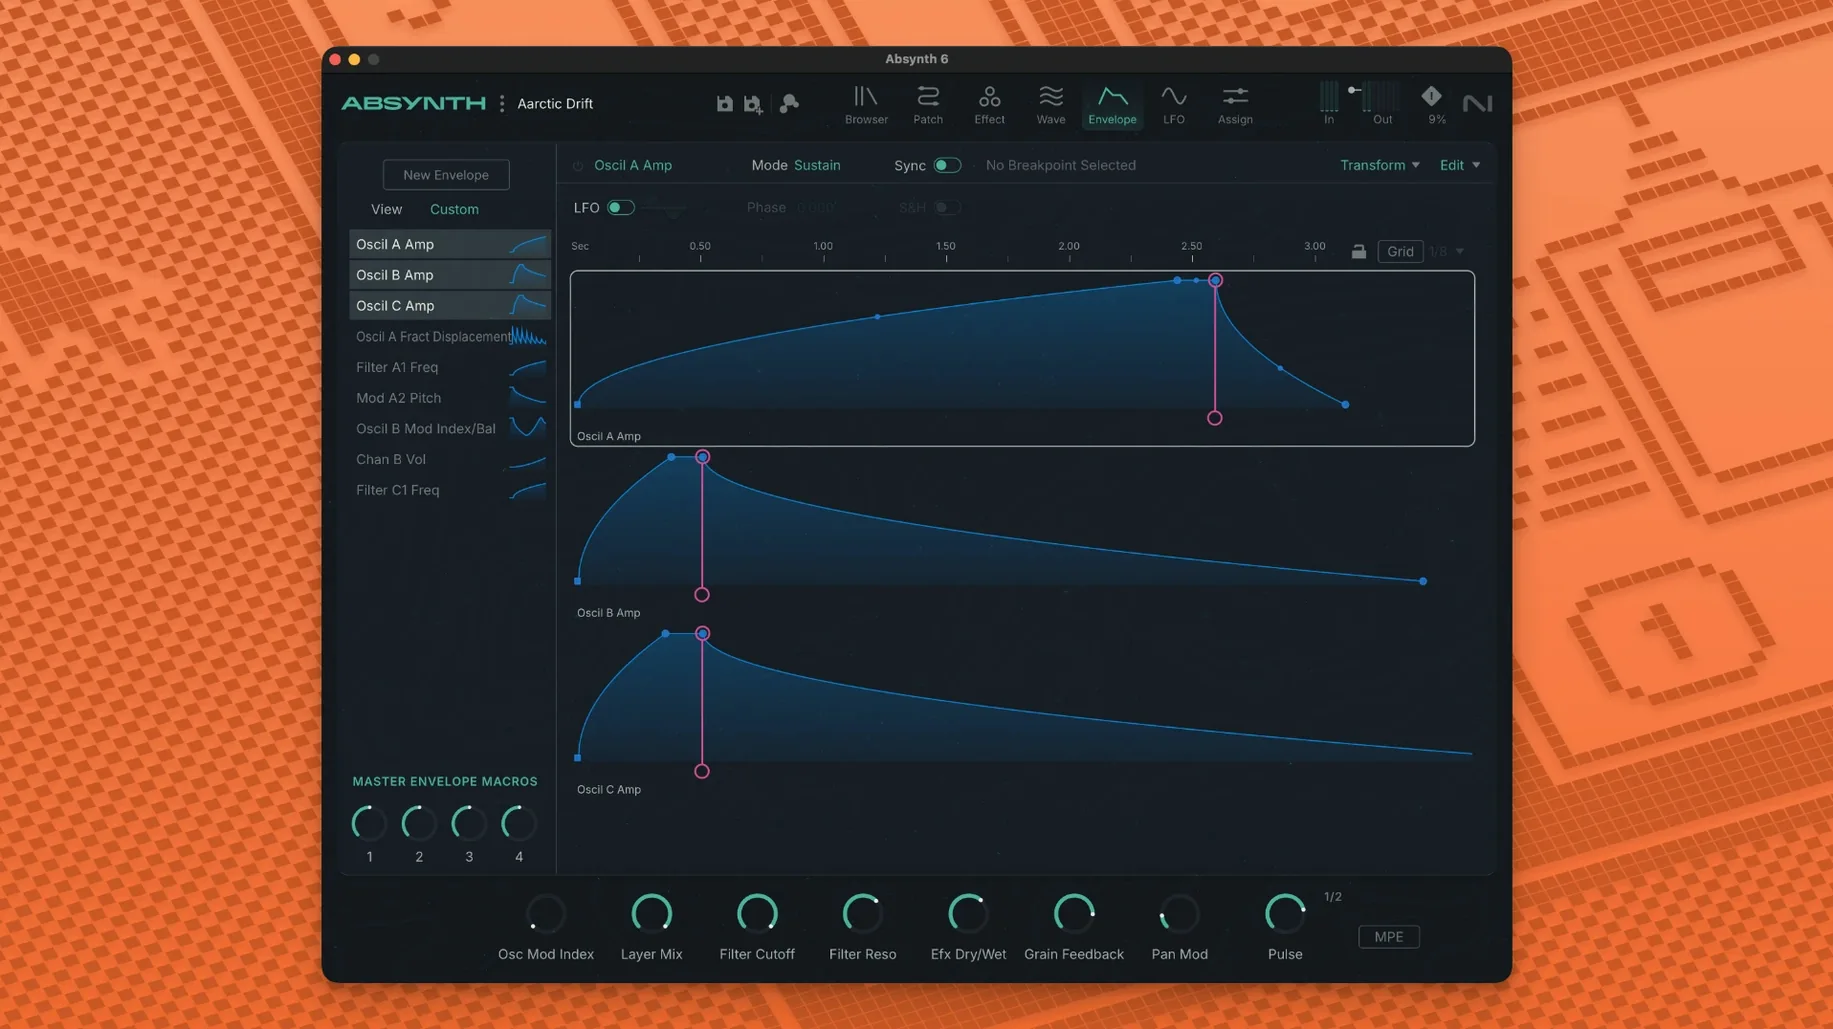
Absynth is a semi-modular synthesizer for building sounds from scratch or reshaping what you already have.
People usually ask a few things before they download it.
Apple Silicon
- Does it run on Apple Silicon? Yes. It supports both ARM and Intel Macs.
- What hosts does it need? A 64-bit VST3, AU, or AAX host on macOS 14 or later.
- Is there a way to find sounds quickly? The preset browser lets you search and audition without leaving the keyboard.
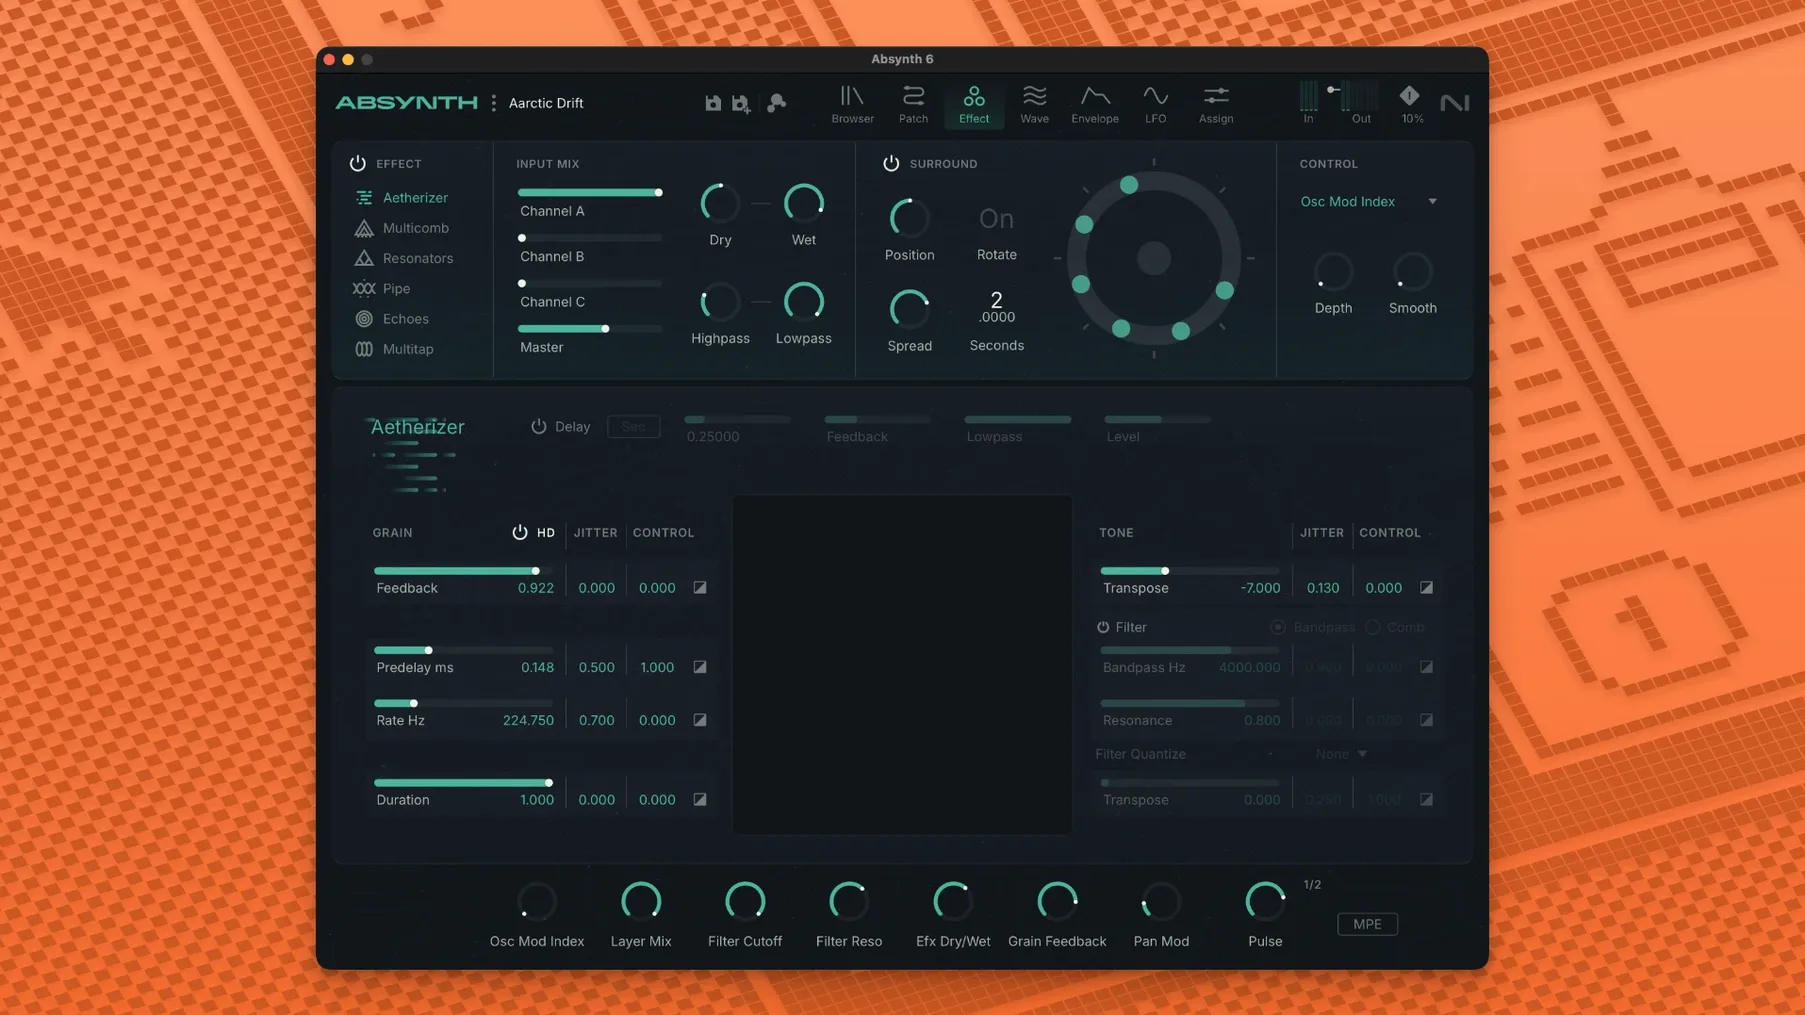
- What makes it different from other synths? The Sound Mutator blends characteristics of separate sounds into something new. The Aetherizer, Cloud Filter, and Supercomb effects push the result further.
Eight-channel surround
The 6.1.0 release brings 250 new presets, full MPE with polyphonic aftertouch, and support for up to eight-channel surround formats including 5.1 and Octaphonic. It is a hybrid synth that rewards time spent listening.
In the room with other tools
Absynth does not try to be a DAW. It sits inside one.
Load it as an AU, VST3, or AAX instrument and it appears like any other plug-in. The difference is how it treats incoming MIDI. With MPE controllers — a ROLI Seaboard, an Expressive E Osmose — each note carries its own pressure and glide. Absynth responds to all of it without extra mapping.
It also works the other way. Send a dry guitar loop into the audio input, bypass the oscillators, and build a signal chain from the Cloud Filter and Supercomb alone. The synth becomes an effect.
For surround work, the eight-channel output pairs cleanly with a DAW set to 5.1 or Octaphonic. macOS handles the routing; Absynth simply makes the channels available. No hidden preferences. No secondary routing app.
Quick drag-and-drop from the preset browser to a sampler track also works. Pull a patch into Logic’s Quick Sampler or Ableton’s Simpler and you have a static snapshot for further processing.
A session, uncut
You open an empty project. Insert Absynth on an instrument track. The default patch is a slow pad — not the sound you want, but enough to confirm the connection.
You hit the browser. Type glass. Three results. You audition the second, a percussive pluck with a long tail. Good. You play a few chords. The polyphonic aftertouch bends the tail pitch slightly when you press harder.
Now you switch to the Sound Mutator. Load a second patch — a bowed metal texture — and set the blend to about forty percent. The pluck gets a ghost layer moving under it. You lower the target level until it almost disappears, then pull it back just enough.
You add the Aetherizer early in the signal path. Wet signal at twenty percent. The delay grains scatter the attack, softening the transient without burying it.
You save the patch under a new name. The whole process took under four minutes.
Surround drone
A short film needs a background drone that shifts across the surround field.
Start with an init patch. Load a wavetable as oscillator A and a noise source as oscillator B. Route oscillator A through the Cloud Filter with a slow LFO on the cutoff. Send oscillator B to a separate channel in the Supercomb effect, tuned a fifth above.
Set the output to a 5.1 layout. Assign oscillator A to the front channels. Send the Supercomb output to the rear pair. The LFO pans the front signal left to right over eight bars. The rear signal stays static, a high shimmer that sits behind the dialogue.
Record a ten-minute pass with an MPE controller. Light pressure opens the Cloud Filter further; harder pressure raises the rear channel volume. The final result is a single take, no automation lanes. Export the six-channel WAV and drop it into the timeline.