

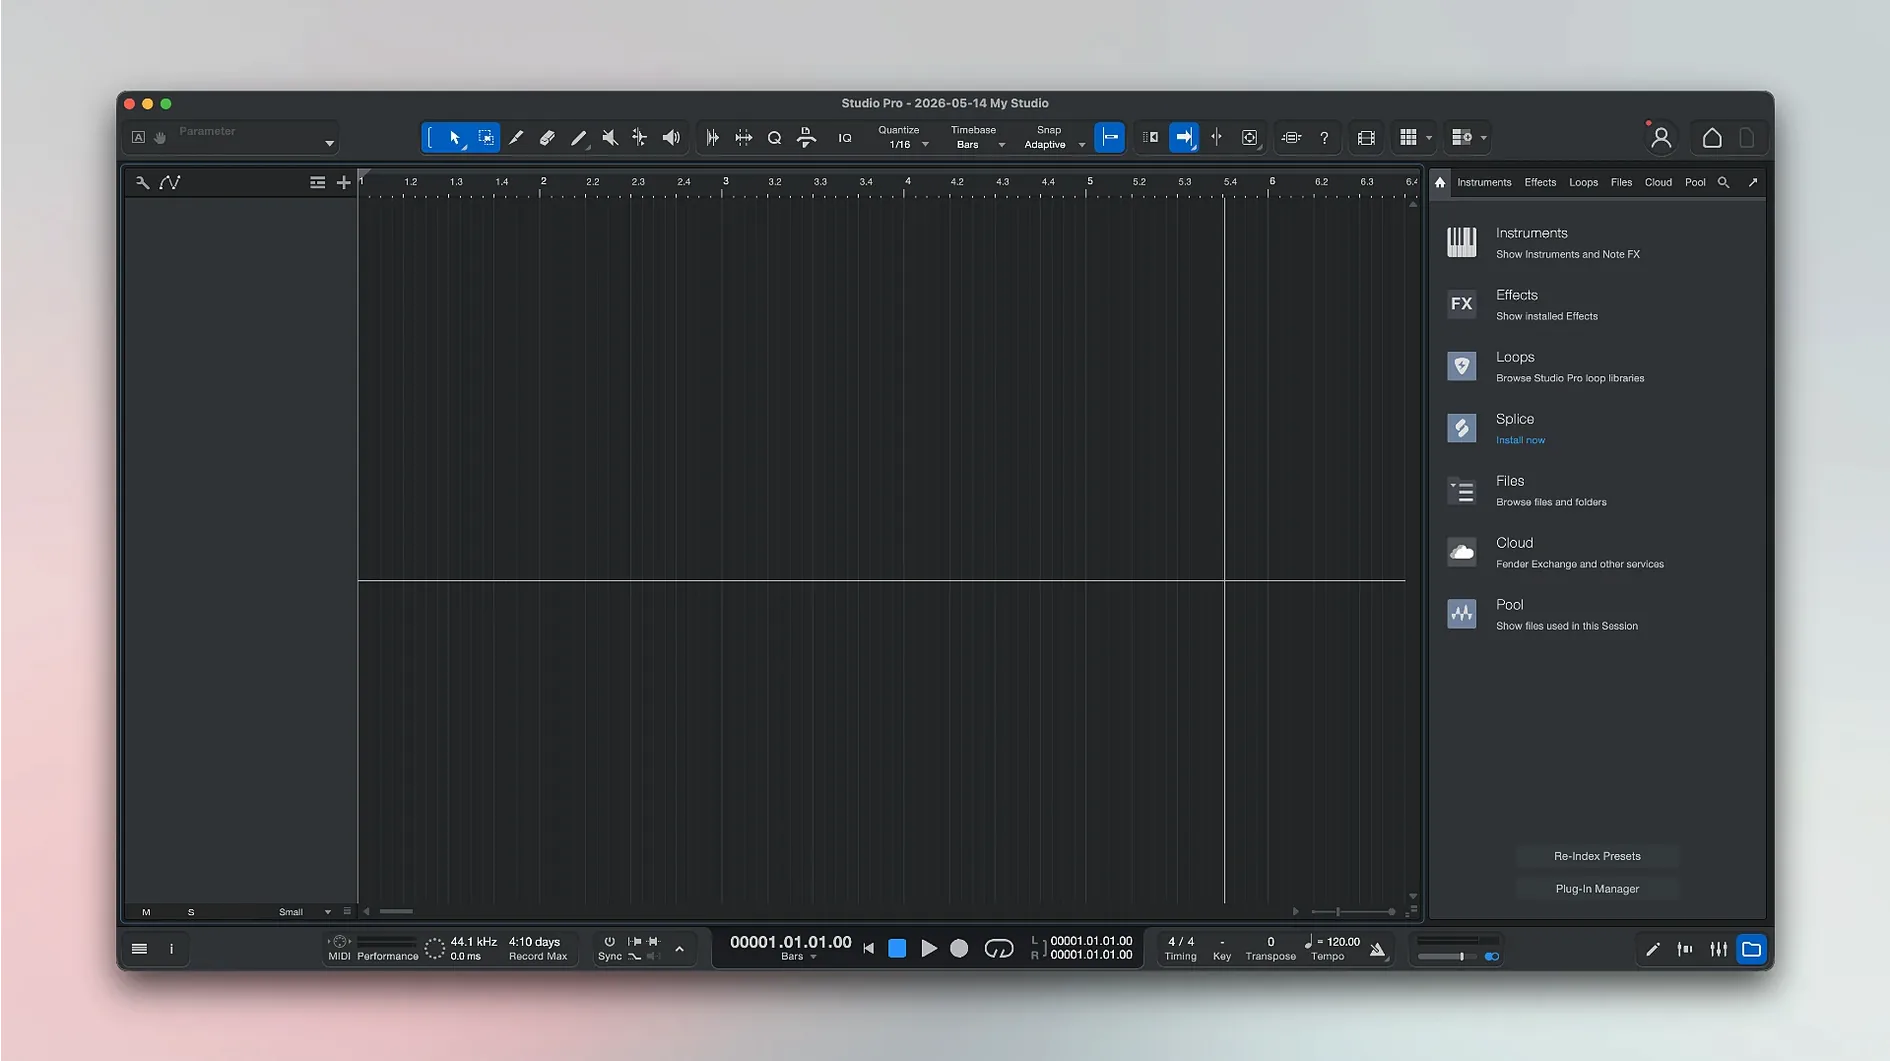
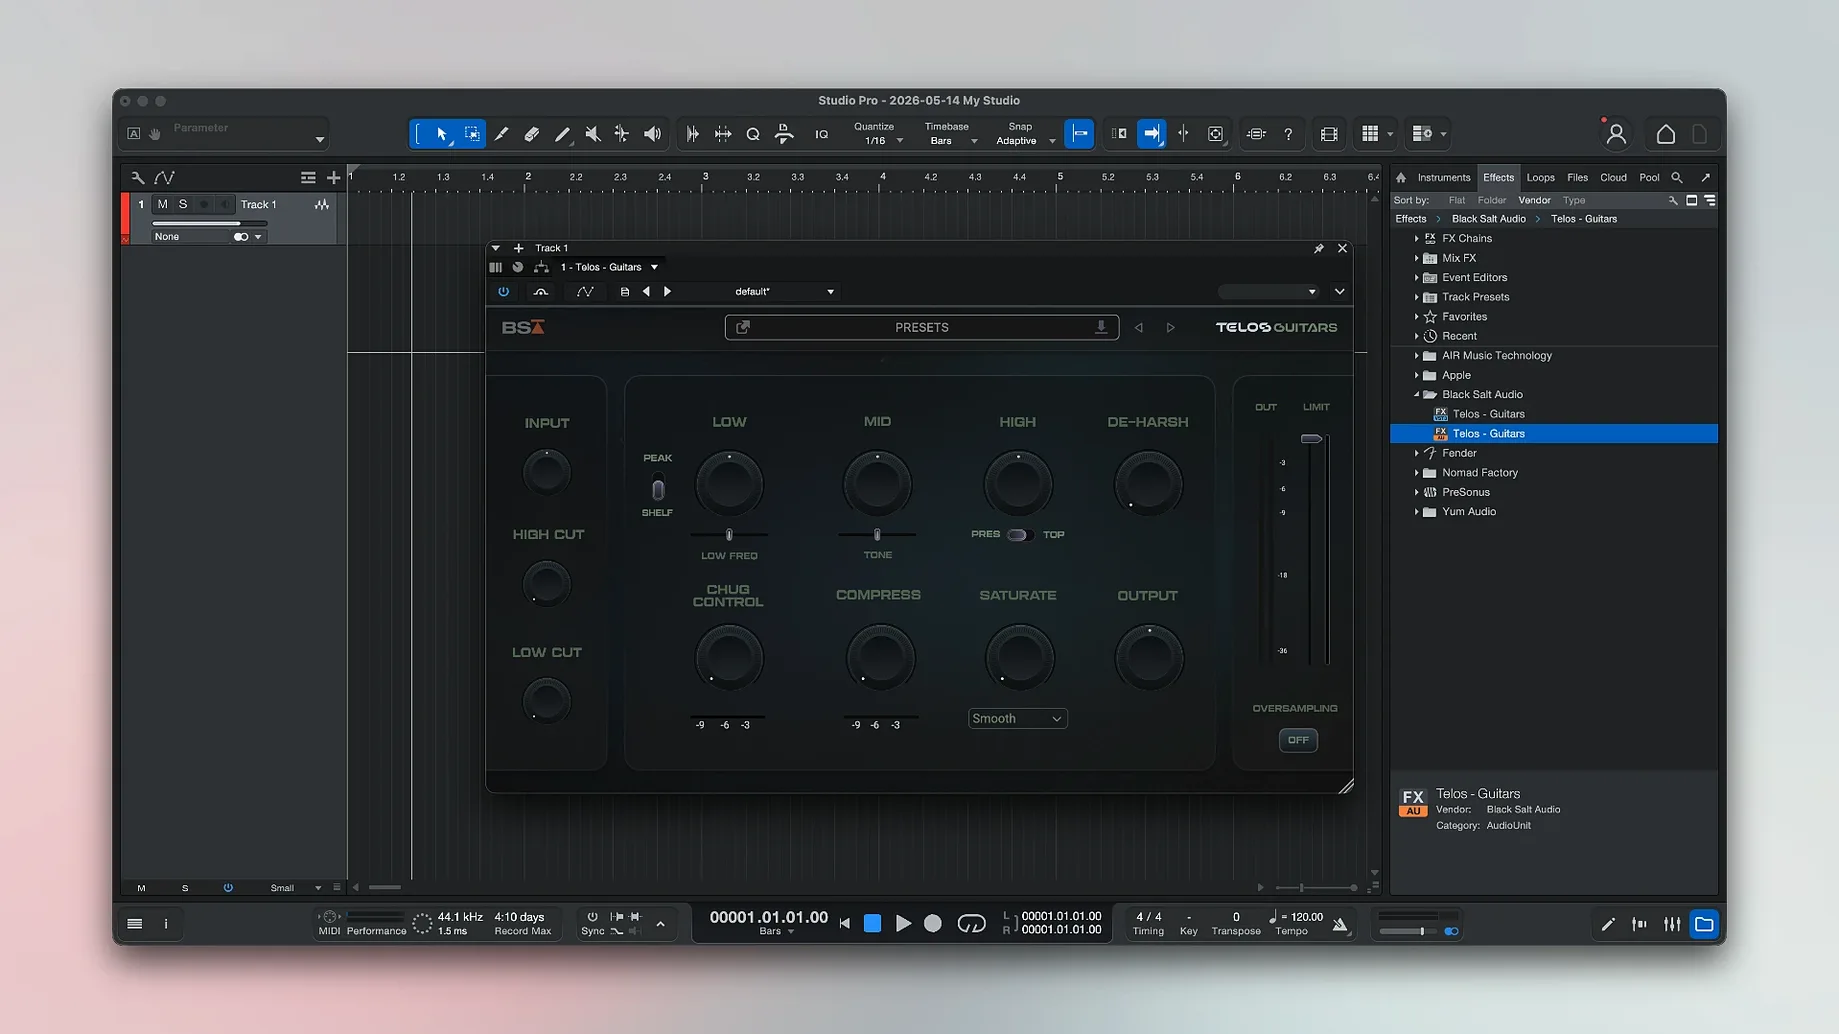
One window. The whole session lives there. No floating panels, no mixer behind a menu.
When a progression stalls, the chord suggestion tool listens to what you have and offers a direction.
Version 8.1.1 puts Freeze Instrument Track in the Launcher: the track renders to audio and frees the CPU, the MIDI stays. Mustang and Rumble now follow automation with Direct Monitoring on.
It opens fast. From launch to a ready project takes under eight seconds on Apple Silicon, and roughly twelve on a 2019 Intel machine. Once running, the CPU graph stays flat on modest sessions — twelve audio tracks, a few virtual instruments, light EQ and compression — hovering around fifteen percent. Memory use rarely climbs above 1.8 GB in that scenario. Heavier projects with amp sims on every channel and real-time pitch correction demand more, but the freeze command keeps things moving. I have not seen a crash in weeks of daily use.
Stability is the quiet kind. You notice it only when it is absent. Here, it is present. Plug-ins load without scanning delays. The audio engine does not glitch when you insert an effect mid-playback. I have pushed it with forty-track sessions and dense automation, and it held.
thin chorus fix
You open the app. The Launcher shows recent songs. You pick one from Tuesday.
First, you listen through. The chorus feels thin. You add a second guitar part — arm a track, pick the Mustang amp model, and record. The amp responds like hardware. You dial gain back a notch. It sits better.
You highlight the bass part and let the chord suggestion run. It proposes a descending line you would not have played. You drag it to the bass track. Good. The verse tightens.
The vocal has mouth clicks. You zoom with two fingers, isolate the noise, and draw a volume dip. No plug-in needed. You add a plate reverb from the stock effects and pull the wet mix to eleven percent. Enough to lift the phrase, not enough to blur it.
By now the CPU is nudging forty percent. You freeze the string pad — one click on the track header, new in the Launcher. It renders in three seconds. The CPU drops by half.
You listen once more. The chorus works. You export the mix. The whole session took twenty minutes.
scroll-wheel zoom
The scroll wheel alone does more than you expect. Hold Option while scrolling to zoom horizontally. Hold Shift to scroll tracks vertically. The cursor obeys instantly.
Right-click any fader and choose Assign to MIDI. Move a knob on your controller. It maps. No menu diving.
The Audio Batch Converter, new in this version, compensates plug-in latency across files. Drag a folder of stems, apply a mastering chain, and convert. The exported files stay sample-aligned. For anyone chasing a fender studio pro download mac, this alone saves an afternoon of manual nudging.
Track colors are not cosmetic. Right-click a track and assign a color. The mixer mirrors it. At a glance, drums are red, vocals blue. You locate the snare without reading labels.
The stem separation tool is hidden in the track context menu. It splits a stereo mix into vocals, drums, bass, and other. It is not instant — a four-minute song takes about thirty seconds — but the results are clean enough for remix prep. Some users running a Fender Studio Pro cracked version discover this only after they right-click the waveform.
A quiet feature: holding Command while dragging a clip disables snapping. You nudge a snare transient by a few milliseconds without changing the grid setting. The movement is precise.
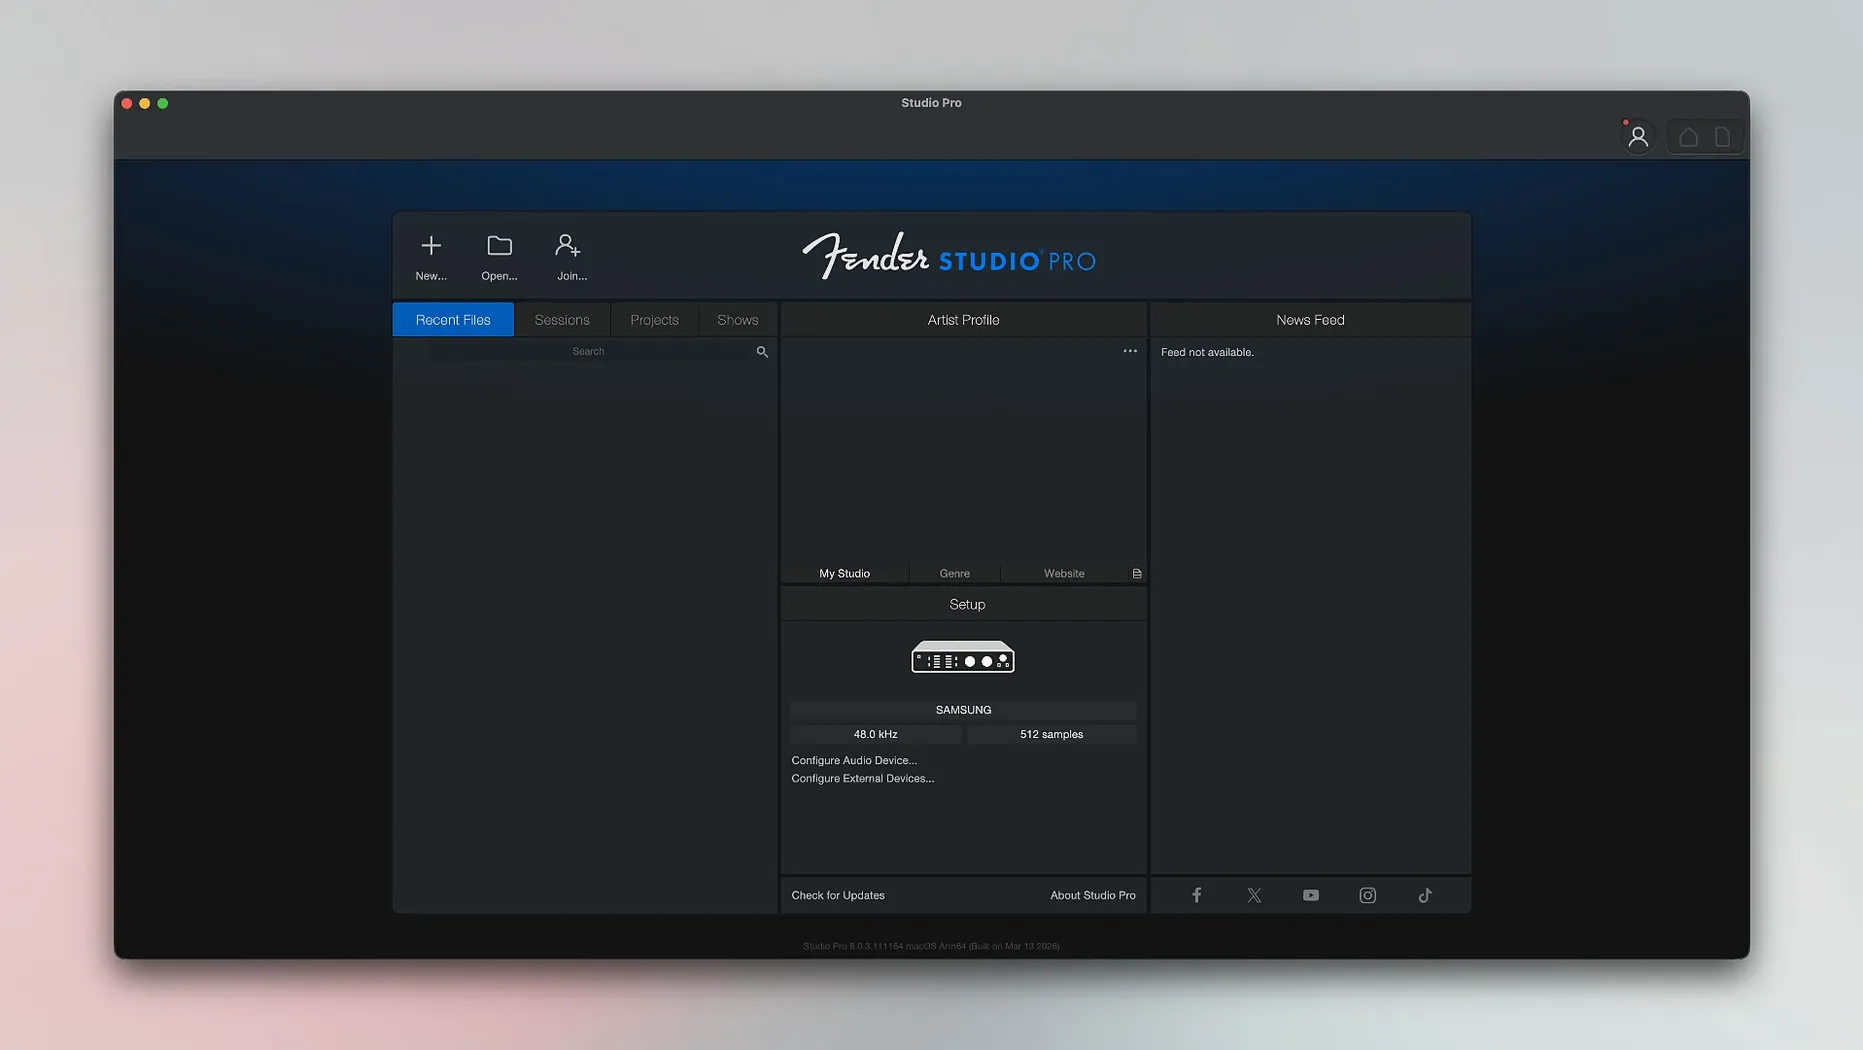
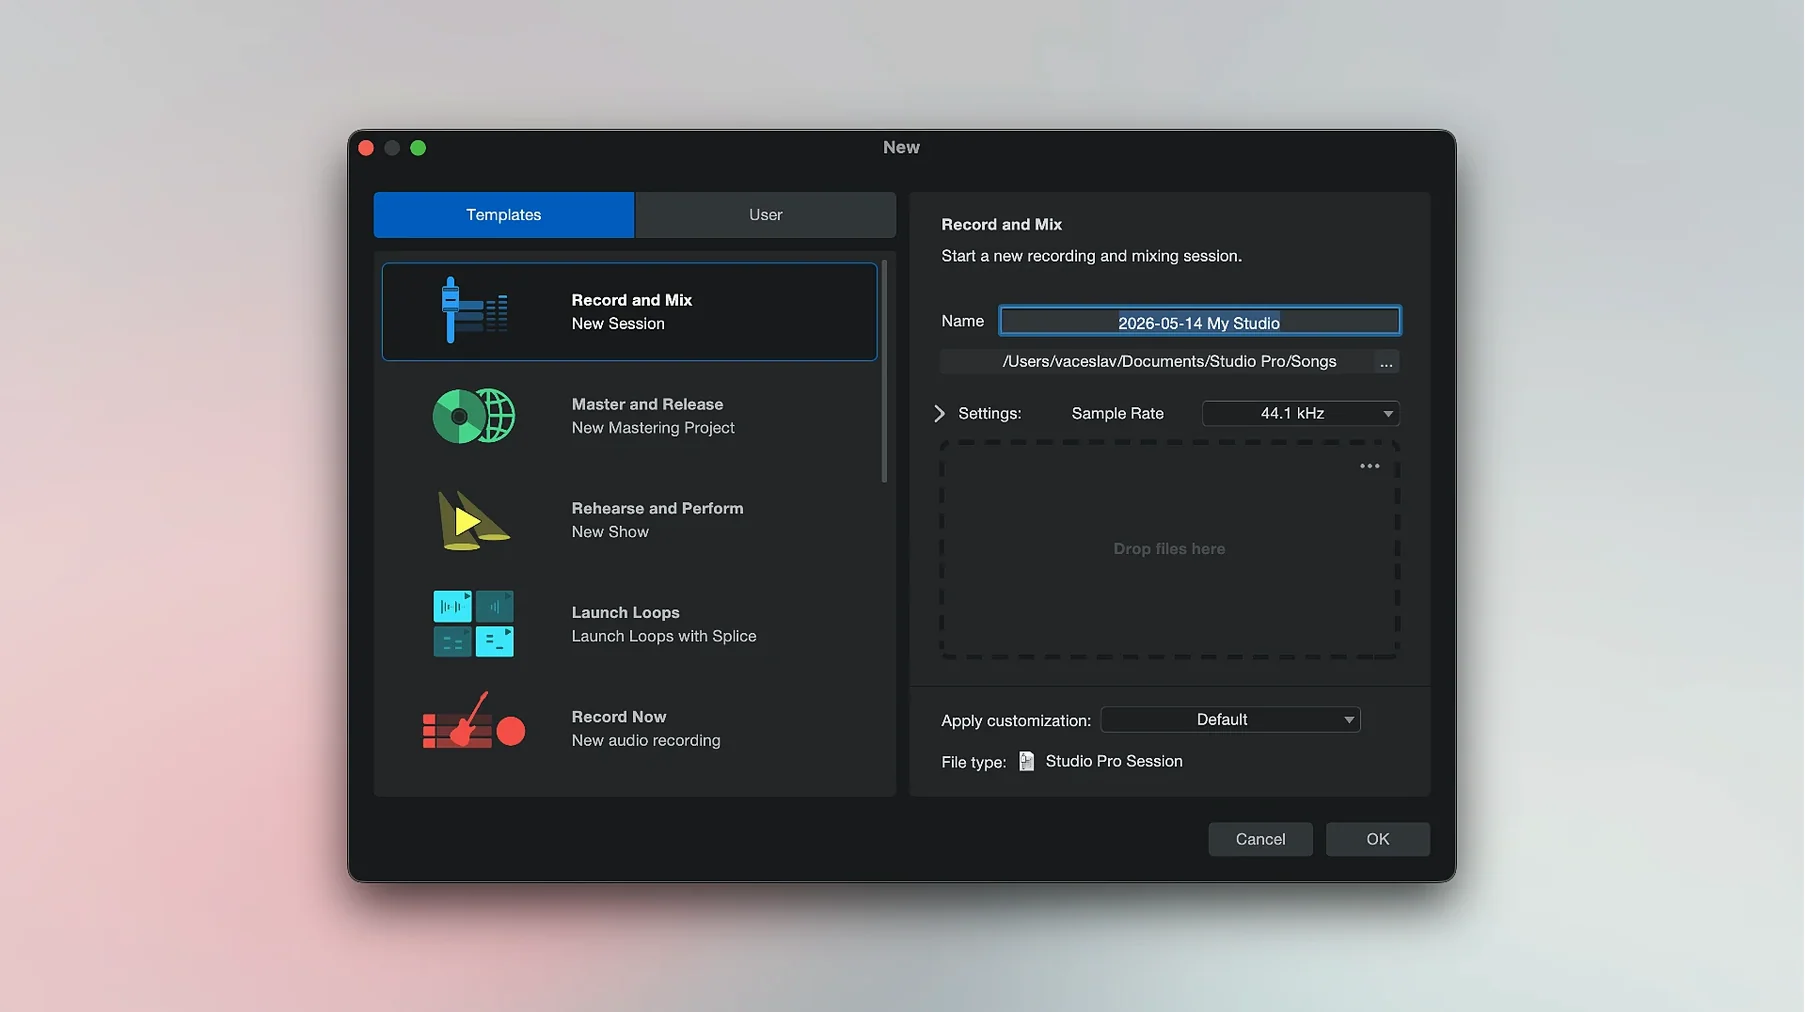
If you install fender studio pro and open a large project, the first thing you should do is save a template. Set up your preferred track layout, color scheme, and routing. Next session, it loads in one click from the Launcher.
The production app under the Fender name, continuing what Studio One built.