
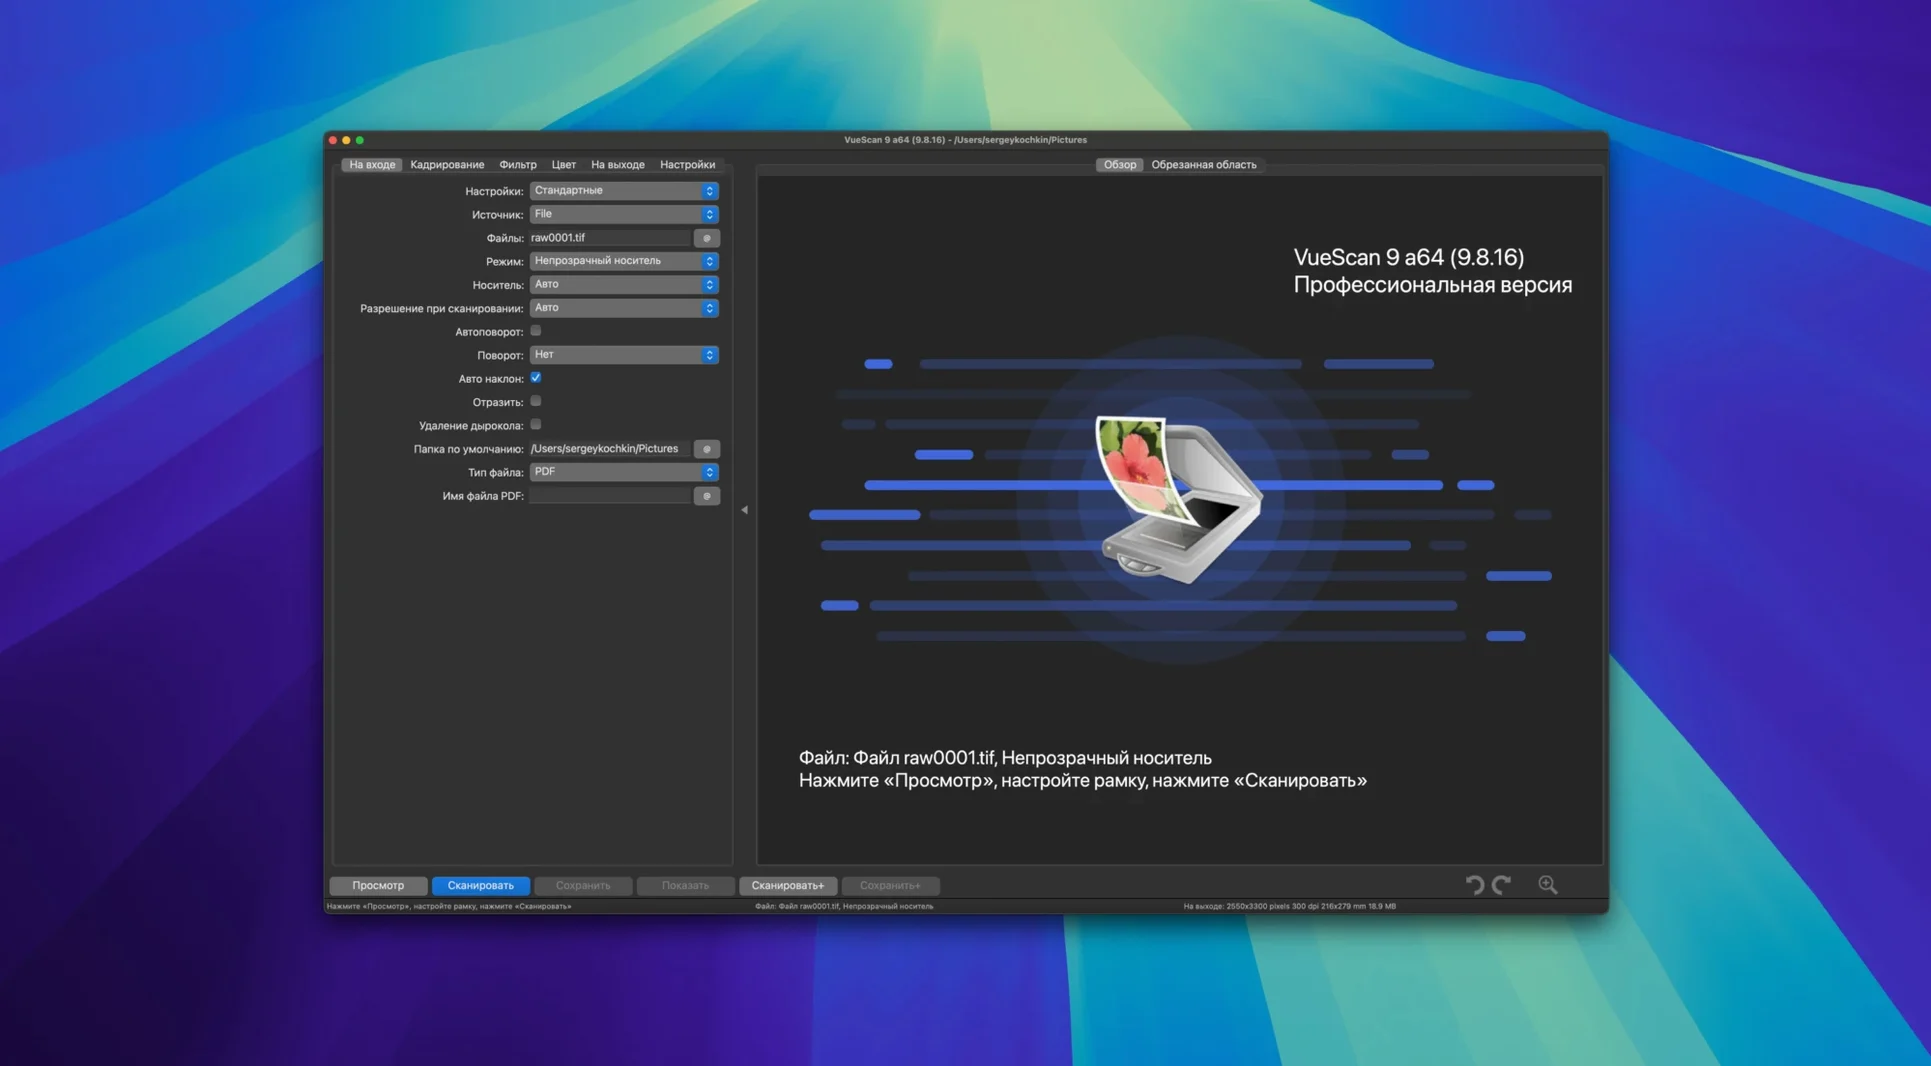
Version 9.8.57 adds batch colorize and super-resolution, improves AI touch-up and supports new Epson and Brother models.
- Its own drivers keep scanners working after manufacturers stop updating theirs
- Exposure, color correction, color depth and output format under direct control
- Batch scanning, with settings saved to reusable profiles
- Grain reduction, unsharp masking and color cast removal
For vuescan mac workflows
Batch colorize and super-resolution, new in 9.8.57, change how you approach a stack of old black-and-white negatives. You no longer process them one by one. You set the colorize profile once and let the batch run.
A small change with large effect: date and time substitutions in folder names. Your archive now sorts itself. File names with varying increments — file001+2.jpg — mean you skip the renaming tool entirely.
AI touch-up got quieter. Less obvious. In earlier versions it pushed too hard on portraits; now it holds back, preserving skin texture where it matters.
Archival scan in practice
You have a box of Kodachrome slides from the 1970s. Some have faded reds. Some show dust you cannot wipe off. Your scanner is old enough that its manufacturer dropped driver support years ago. VueScan still talks to it.
You start with one slide. Set the media type to Image, then Slide. Enable infrared cleaning. The scan previews in a few seconds. You pull the white point down a touch, lift the shadows slightly, and save the settings as Kodachrome 1974.
Now you load the batch. Place four slides in the holder. Set the file name to slide###.tiff and the output folder to ~/Scans/1974. Press scan. VueScan reads each frame, applies infrared cleaning, writes the raw TIFF, and moves to the next. No dialog boxes interrupt. When it finishes, your folder holds sixteen frames named slide001.tiff through slide016.tiff.
For the black-and-white negatives in the next box, you switch profiles. Enable colorize. The AI reads tonal values and guesses at skin tones, foliage, sky — not perfectly, but close enough that a quick curve adjustment in your editor finishes the job.
A morning session
You plug in the scanner. macOS asks no questions; the improved USB support in 9.8.57 means the connection just holds. VueScan opens to the last-used profile. You load the first negative, check the preview, and nudge the exposure down by a third of a stop. Lock exposure. Lock film base color. Scan.
Two hours pass. You scan forty-seven frames. Halfway through, you switch from TIFF to JPEG for a batch that only needs reference copies. The profile system remembers your output settings per job type; you never rebuild them. When the scanner’s lamp warms up enough to shift color slightly, you re-lock the film base color on a blank frame and continue.
At the end you quit the app. No crash logs. No driver conflicts. Just a folder of scans, correctly named, sorted by date, ready for whatever comes next.
Auto settings when they are right, manual control when they are not. Apple silicon and 64-bit Intel.